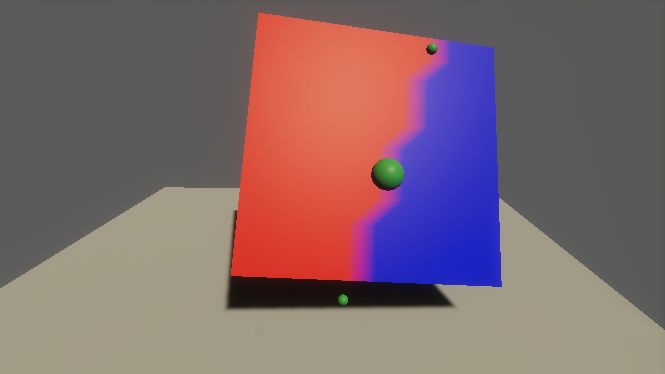
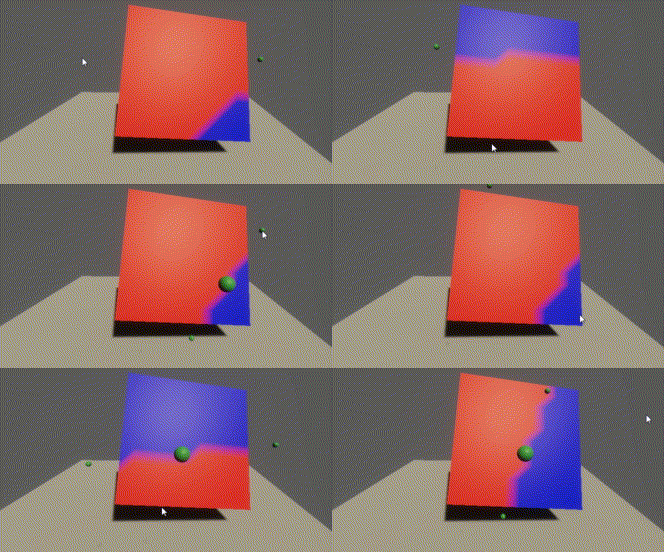
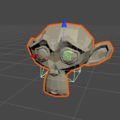
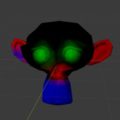
ドラッグアンドドロップでメッシュをカットしてみます。そのために今回はドラグアンドドロップしたところを境界にして、メッシュの頂点カラーを変えてみました。
まず、クリックとドロップした場所のスクリーン上のマウス位置と、その中間の位置を取得して、それをワールド空間の位置に変換します。これはCamera.ScreenToWorldPointメソッドを使うと簡単です。
次にこの3点を使ってPlaneを定義します。あとは、メッシュの頂点を1つずつ見ていって、Plane.GetSideメソッドでPlaneの表と裏のどちら側に頂点があるかによって頂点カラーを変えるだけです。
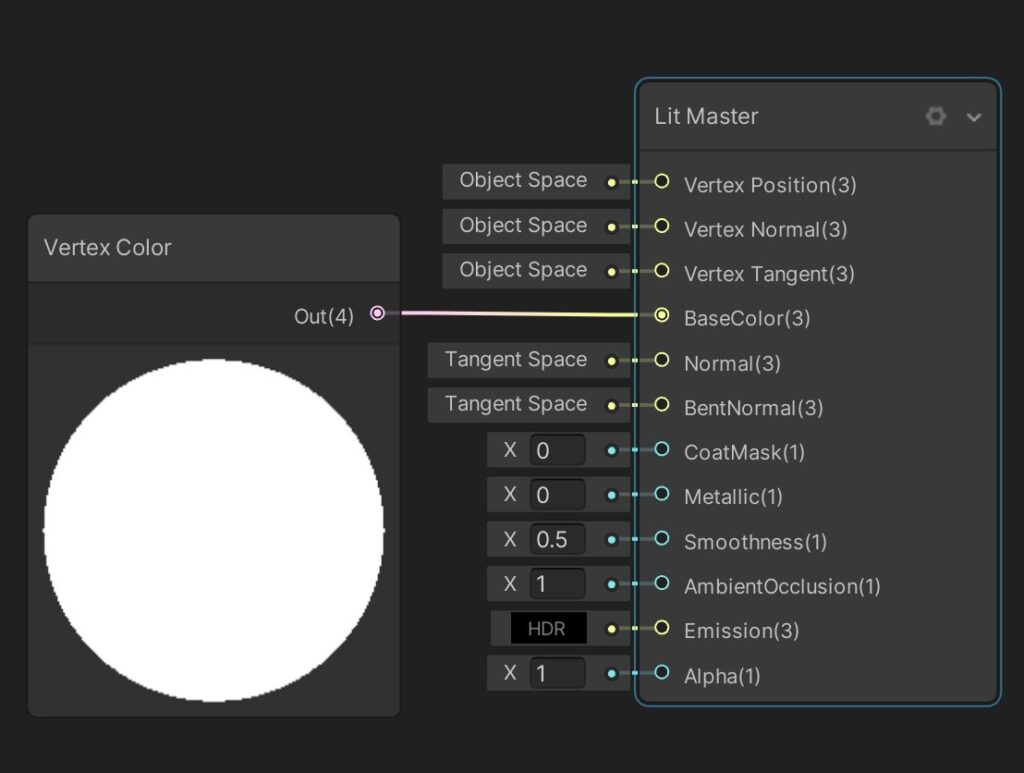
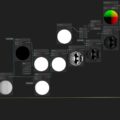
頂点カラーは、シェーダーグラフによってマテリアルの色として見えるようにしています。
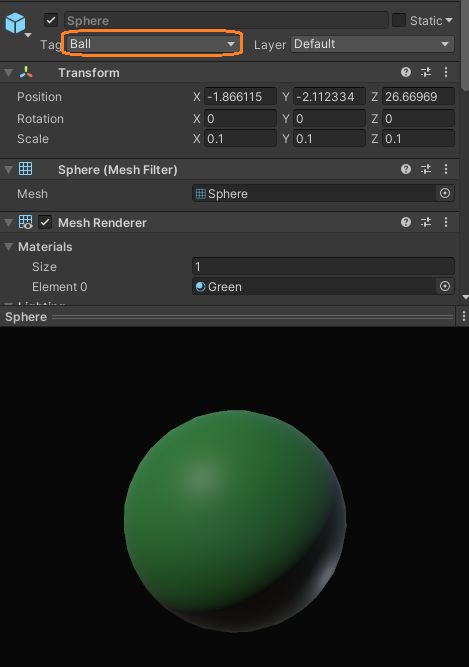
また、この3点に球を配置し、毎回タグを使って削除するようにしました。
using System.Collections;
using System.Collections.Generic;
using UnityEngine;

public class SliceMesh : MonoBehaviour
{
    bool isDragging; // マウスドラッグしているかどうか
    Vector3 posAMp; // クリックしたときのマウスポジション
    Vector3 posA; // ワールド空間でのポジション
    [SerializeField] GameObject target; // ターゲットのオブジェクト
    [SerializeField] GameObject sphere; // 緑の球のプレハブ

    // Start is called before the first frame update
    void Start()
    {

    }

    // Update is called once per frame
    void Update()
    {
        // クリックしたとき
        if (Input.GetMouseButtonDown(0))
        {
            // 緑の球を消す
            foreach(var b in GameObject.FindGameObjectsWithTag("Ball"))
            {
                Destroy(b);
            }

            // マウスクリックした場所を記憶
            posAMp = Input.mousePosition;

            // ワールド空間に変換
            Vector3 pos = posAMp;
            pos.z = 3;
            posA = Camera.main.ScreenToWorldPoint(pos);

            // 緑の球を置く
            GameObject g = Instantiate(sphere, posA, Quaternion.identity);
            g.name = "A";

            isDragging = true;
        }


        if (isDragging)
        {
            // ドロップしたとき
            if (Input.GetMouseButtonUp(0))
            {
                // クリックを放した場所
                Vector3 mp = Input.mousePosition;

                // ワールド空間に変換
                mp.z = 3;
                Vector3 posB = Camera.main.ScreenToWorldPoint(mp);

                // 中間の場所
                Vector3 posC = Vector3.Lerp(posAMp, Input.mousePosition, 0.5f);

                // ワールド空間に変換
                posC.z = 1;
                posC = Camera.main.ScreenToWorldPoint(posC);

                // 緑の球を置く
                GameObject g = Instantiate(sphere, posB, Quaternion.identity);
                g.name = "B";

                g = Instantiate(sphere, posC, Quaternion.identity);
                g.name = "C";

                // 3点でPlaneを作る
                Plane plane = new Plane(posA, posB, posC);

                // ターゲットのメッシュ
                Mesh mesh = target.GetComponent<MeshFilter>().mesh;

                // 頂点カラーの配列を作成
                Color[] vertexColors = new Color[mesh.vertexCount];

                // 頂点がPlaneのどちら側にあるかによって頂点カラーを変える
                for(int i = 0; i < mesh.vertexCount; i++)
                {
                    // 表側にある
                    if(plane.GetSide(target.transform.TransformPoint(mesh.vertices[i])))
                    {
                        vertexColors[i] = Color.red;
                    }
                    // 裏側にある
                    else
                    {
                        vertexColors[i] = Color.blue;
                    }
                }

                // メッシュに頂点カラーを設定
                mesh.colors = vertexColors;

                isDragging = false;
            }
        }
    }
}
Camera.ScreenToWorldPointメソッドの引数にはマウス位置を入れますが、zが0だとうまくいかないので、適当な値を入れます。Planeを定義するときに表から見て時計回りの三角形を作るので、三番目の点のz値が一番小さくなるようにしました。
// マウスクリックした場所を記憶
posAMp = Input.mousePosition;

// ワールド空間に変換
Vector3 pos = posAMp;
pos.z = 3;
posA = Camera.main.ScreenToWorldPoint(pos);
Planeのどちら側にあるかを調べるとき、Plane.GetSideメソッドの引数にメッシュの頂点の座標を入れますが、頂点はローカル座標なので、Transform.TransformPointメソッドでワールド座標に変換します。
// 表側にある
if(plane.GetSide(target.transform.TransformPoint(mesh.vertices[i])))
{
    vertexColors[i] = Color.red;
}
// 裏側にある
else
{
    vertexColors[i] = Color.blue;
}
頂点カラーはいったん新しい配列を作ってからMesh.colorsに代入しました。各頂点カラーは、Mesh.verticesの同じインデックスの頂点に対応しています。
