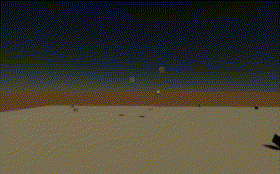
Unityで簡単に雷を作ってみました。Planeに画像を表示してアニメーションさせました。
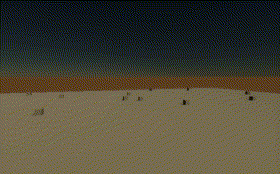
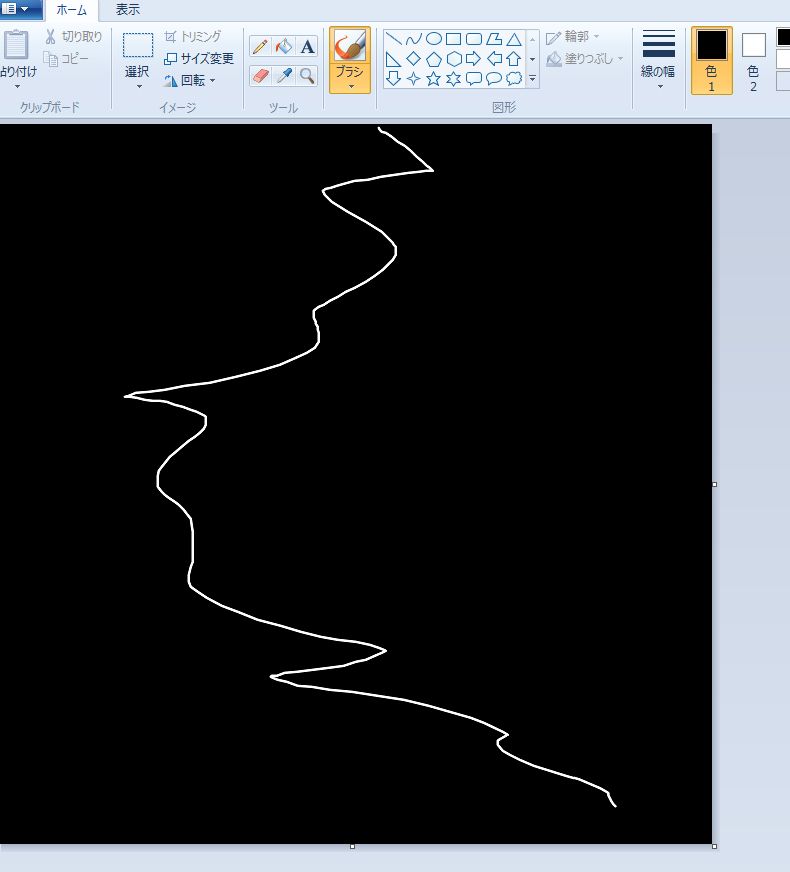
まず適当に雷の画像を作りました。
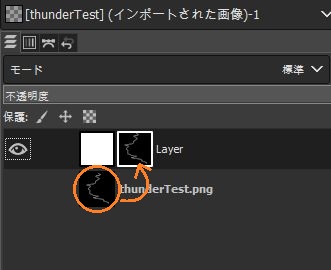
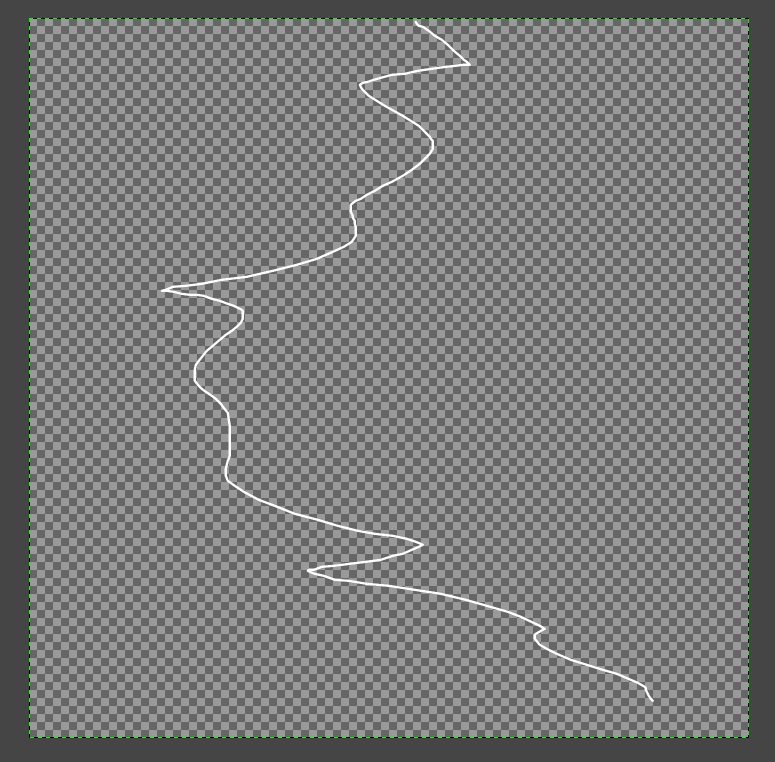
これをGIMP2で開いて、白いレイヤーを追加して、そのレイヤーマスクにこの画像をコピペします。元の画像を非表示にすると、黒い部分な透明になります。この画像と元の画像をUnityにインポートしました。
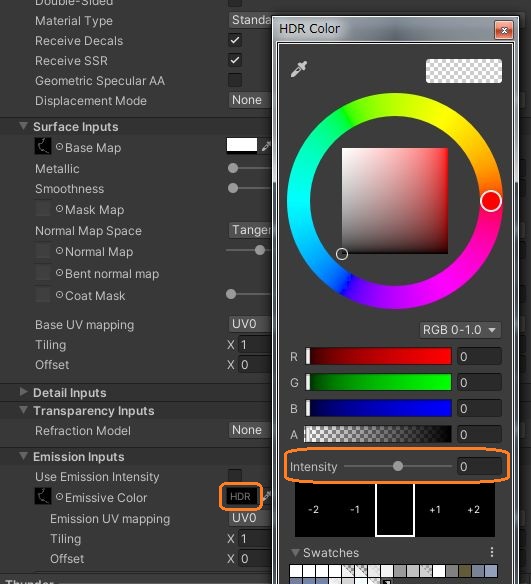
Unityで雷用のマテリアルを作って、Transparentタイプにし、Preserve specular lightingのチェックを外します。Base Mapに透明にした画像を、Emissive Colorに元の画像をアタッチしました。
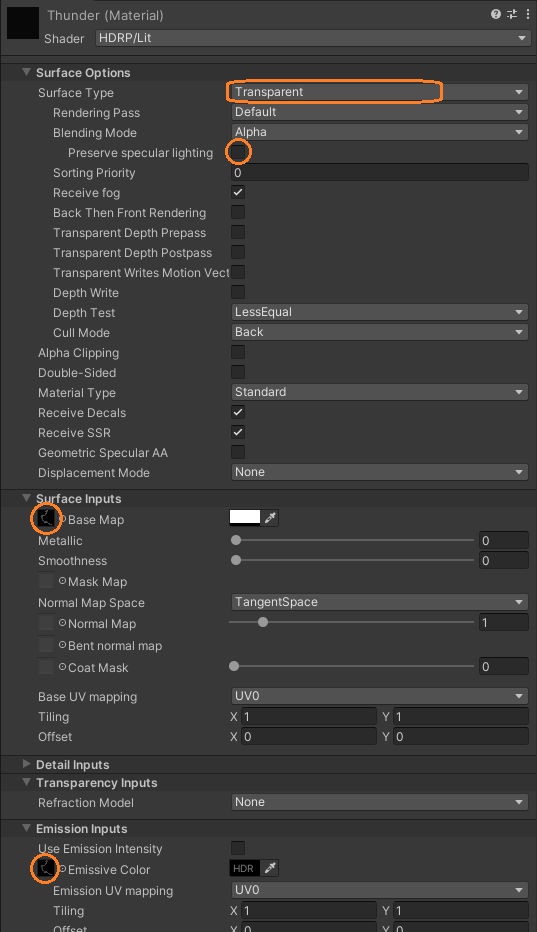
Emissive Colorの横のカラーピッカーでIntensityを変えると、雷の光具合を変えられます。
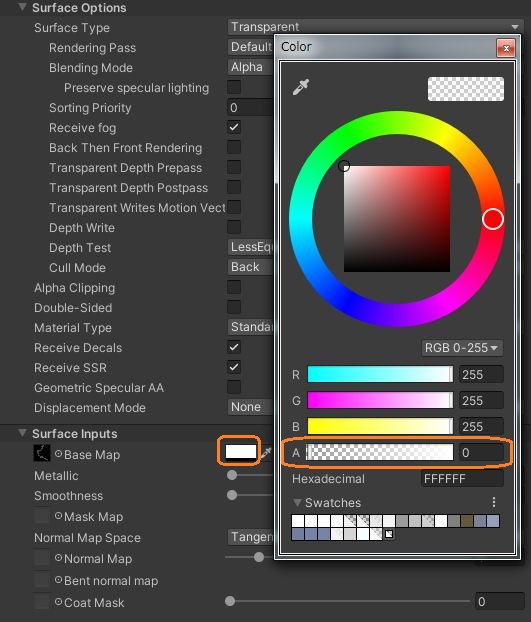
光らないだけでは白く表示されたままなので、雷を消すときはBase Mapの横のカラーピッカーで透明にします。
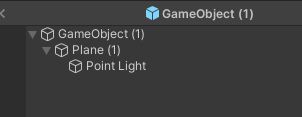
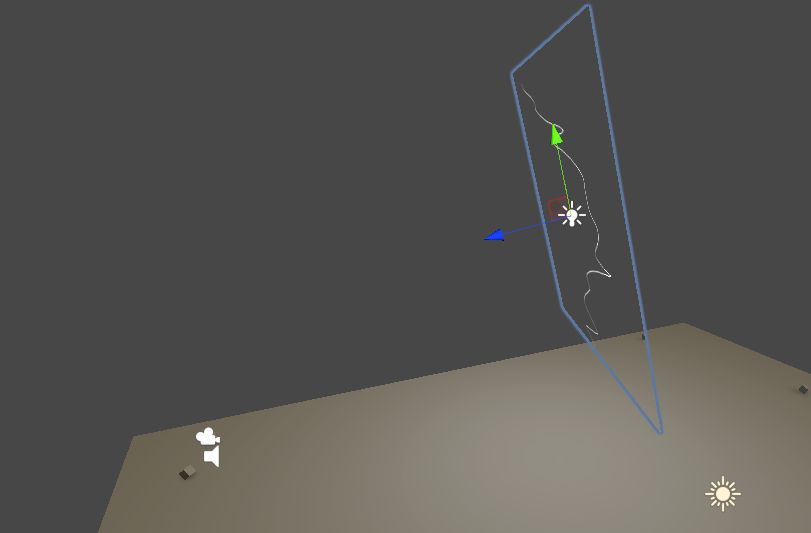
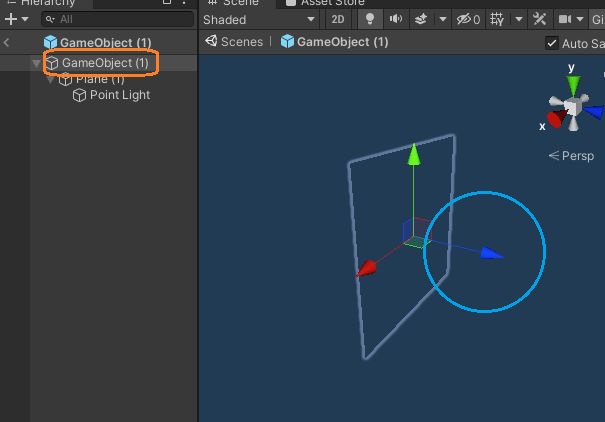
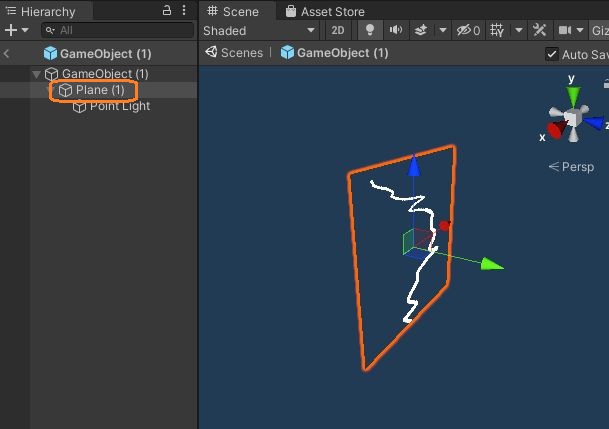
このマテリアルを雷用のPlaneに付けます。それを空のゲームオブジェクトの子にして、Planeの子にポイントライトを置きました。空のゲームオブジェクトのポジションを0にしてから子オブジェクトを設定して、Planeやライトの位置も0にしておきます。
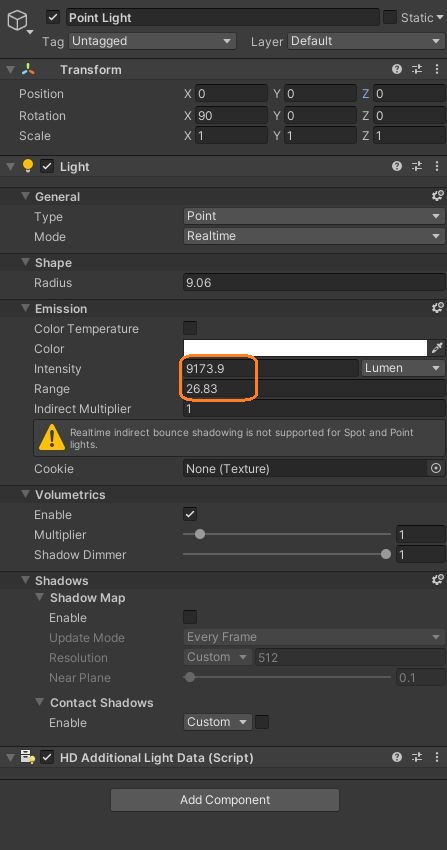
ポイントライトの明るさはLightコンポーネントのIntensityで変えます。Rangeは大きめにしておきました。
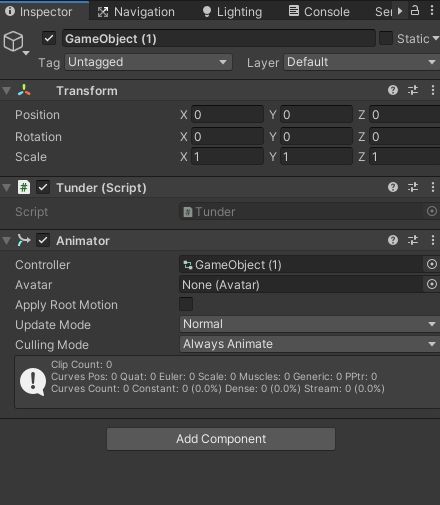
ルートのオブジェクトを選択して、AnimationウィンドウでCreateを押すと、Animatorコンポーネントと最初のアニメーションが作られます。スクリプトも付けて、自分を破壊するメソッドを定義しておきます。
// ...

    void DestroyThunder()
    {
        Destroy(gameObject);
    }
}
Animationウィンドウでは、Planeの不透明度やエミッションの強さ、ポイントライトの強さなどのアニメーションを付けます。アニメーションの最後のほうにシグナルを追加します。

追加したシグナルを選択して、インスペクタで破壊メソッドを選択すると、このタイミングでこのメソッドが呼ばれて雷が消えます。
スクリプトではStartメソッドでプレイヤーの位置に応じて雷の向きを変えます。
using System.Collections;
using System.Collections.Generic;
using UnityEngine;

public class Thunder : MonoBehaviour
{
    private void Start()
    {
        // プレイヤーと同じ高さにする
        Vector3 pos = transform.position;
        pos.y = UnityStandardAssets.Characters.FirstPerson.FirstPersonController.GetInstance().transform.position.y;
        transform.position = pos;

        // プレイヤーの方を向かせる
        transform.LookAt(UnityStandardAssets.Characters.FirstPerson.FirstPersonController.GetInstance().transform);

        // 爆発
        foreach(GameObject cube in GameObject.FindGameObjectsWithTag("Cube"))
        {
            Cube cb = cube.GetComponent<Cube>();
            if(cb != null)
            {
                cb.Blow(pos);
            }
        }

        // 少し上に持ち上げる
        pos.y += 5f;
        transform.position = pos;

    }

    void DestroyThunder()
    {
        Destroy(gameObject);
    }
}
プレイヤーの方を向かせるためにTransform.LookAtメソッドを使っています。雷とプレイヤーの高さが揃っていないときに呼ぶと、雷が前後に傾きます。
なので、まず高さを合わせてからプレイヤーの方を向かせた後に、少し高い位置に移動しています。LookAtでは、ゲームオブジェクトのローカルのZ座標が引数のトランスフォームの方へ向くように回転します。
なので、空のゲームオブジェクトのZ座標の方から見た時に、Planeの雷画像が正面に見えるようにPlaneを回転させています。
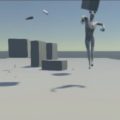
高い位置へ移動する前に、その位置を中心とした爆発の力を周りのオブジェクトに加えます。シーンに複数のCubeオブジェクトを配置して、全てにRigidbodyとCubeタグ、スクリプトを付けています。

力を与えるときはタグで検索して一つひとつのCubeクラスの吹き飛ぶメソッドを呼んでいます。その中でRigidbody.AddExplosionForceを呼びます。
using System.Collections;
using System.Collections.Generic;
using UnityEngine;

public class Cube : MonoBehaviour
{

    // Start is called before the first frame update
    void Start()
    {

    }

    public void Blow(Vector3 centerPosition)
    {
        Rigidbody rb = GetComponent<Rigidbody>();
        if (rb != null)
        {
            rb.AddExplosionForce(10f, centerPosition, 15f, 20f, ForceMode.Impulse);
        }
    }


}
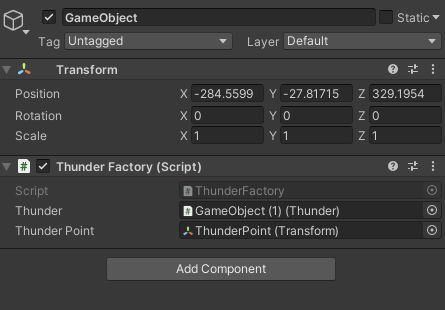
雷を出現させるスクリプトを作って、雷のプレハブと出現位置のトランスフォームをアタッチします。プレハブをインスタンス化すると自動でアニメーションが再生されて、終わると破壊されます。
using System.Collections;
using System.Collections.Generic;
using UnityEngine;

public class ThunderFactory : MonoBehaviour
{
    [SerializeField] Thunder thunder; // 雷のプレハブ
    [SerializeField] Transform thunderPoint; // 雷の出現位置

    // Start is called before the first frame update
    void Start()
    {

    }

    // Update is called once per frame
    void Update()
    {
        if(Input.GetKeyDown(KeyCode.T))
        {
            Instantiate(thunder.gameObject, thunderPoint.position, Quaternion.identity);
        }
    }


}
これで簡単に雷エフェクトが作れました。