Blenderで簡単にブラインドを作ってみます。
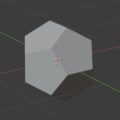
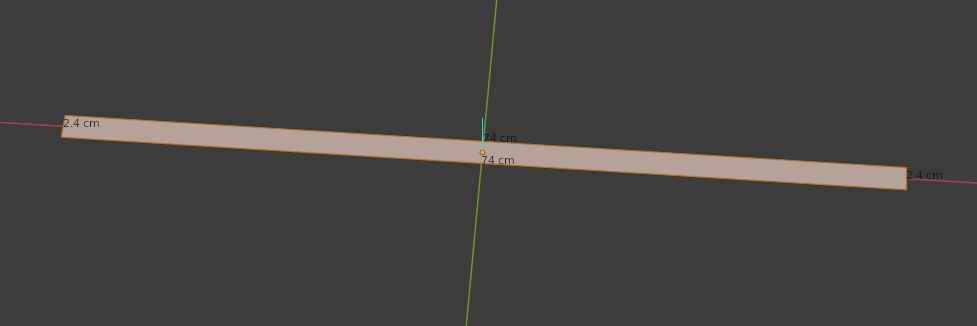
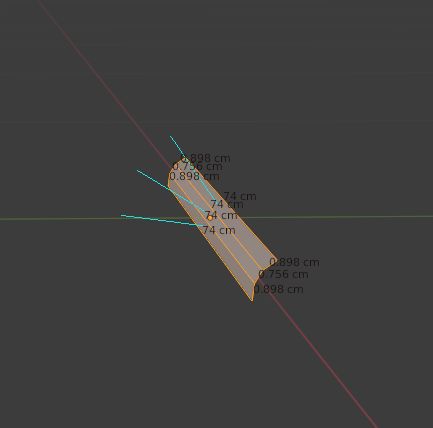
まず一枚の羽のサイズのPlaneを作ります。
長い方に沿ってループカットし、その辺を垂直に少し移動します。
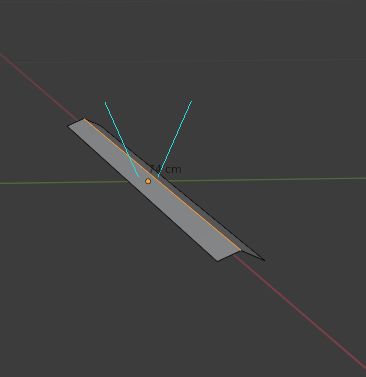
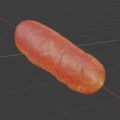
さらにベベルをかけます。
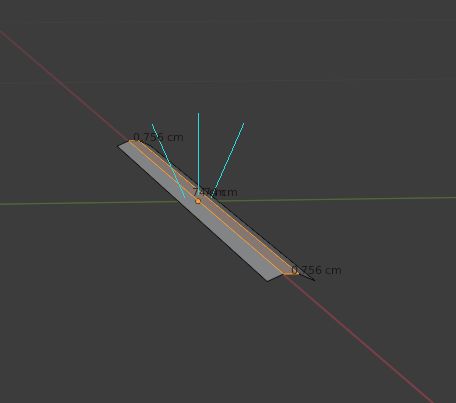
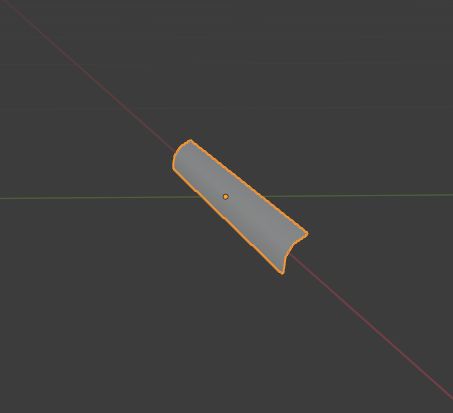
編集モードのまま、全選択してX軸に沿って回転させ少し起こしました。
オブジェクトモードで、Object > Shade Smoothでスムーズにしておきます。
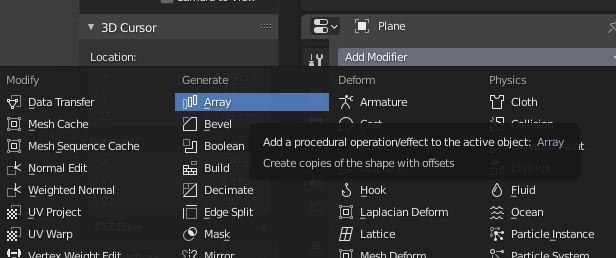
Arrayモディファイアを付けます。
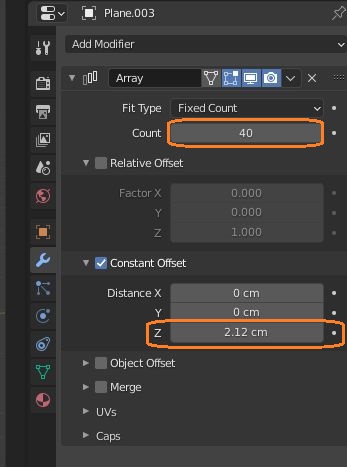
Countで並べる羽根の数を変えられます。Relative Offsetのチェックを切って、Constant Offsetのチェックを入れ、Zに一つ一つの羽根の間の距離を入れます。
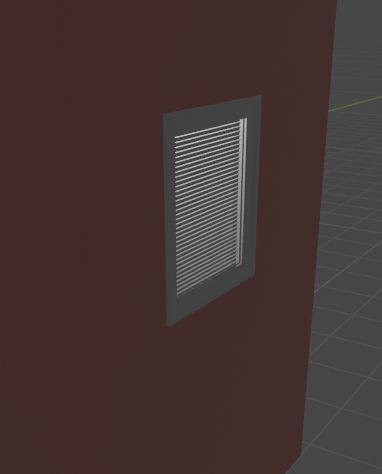
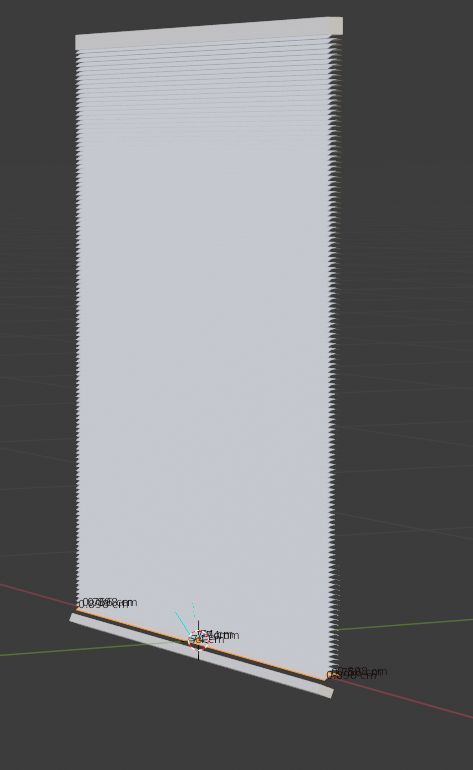
ブライドの上下の端には細長いCubeを置きます。
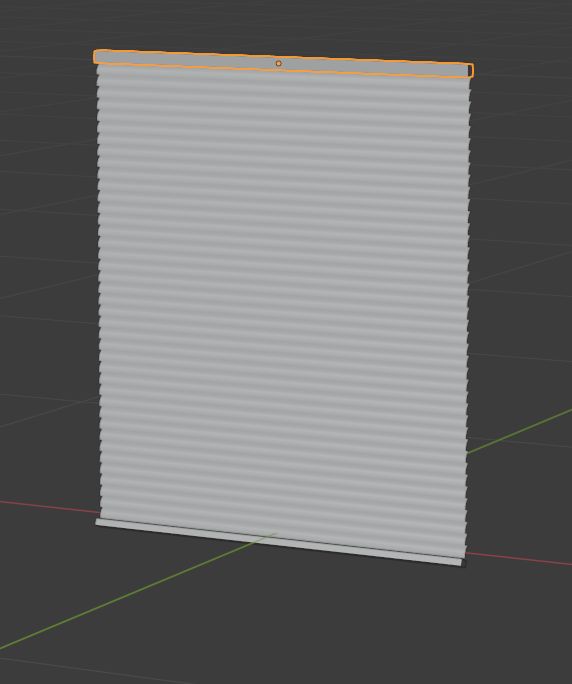
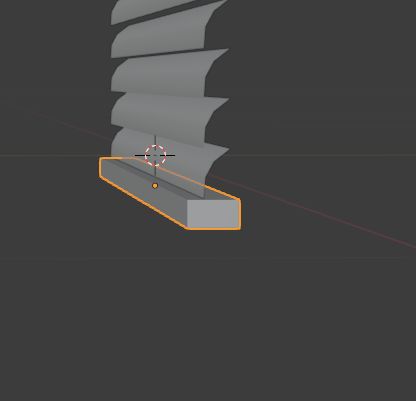
下のCubeは少し傾けました。
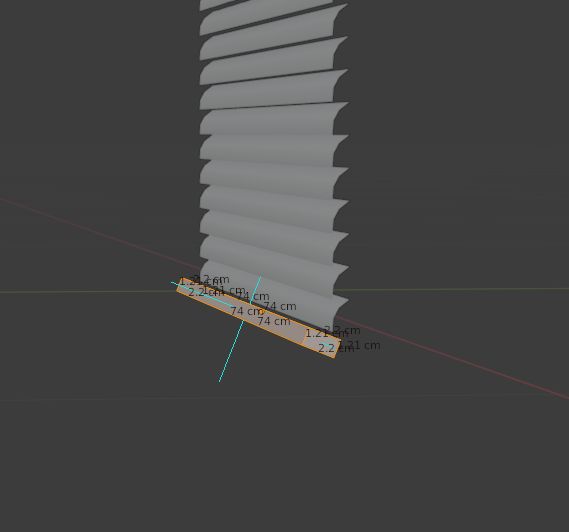
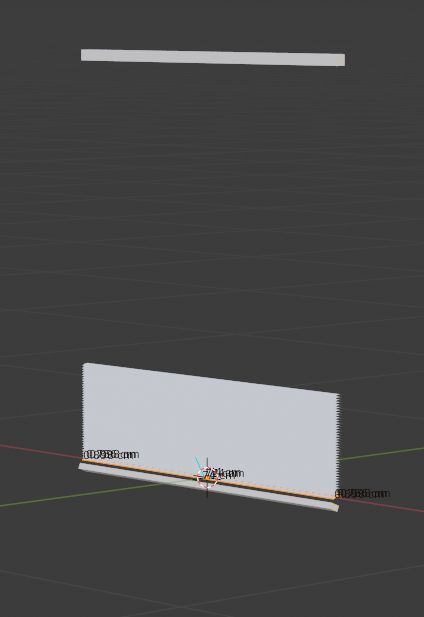
これらも含めて、欲しい長さになるようにArrayモディファイアの値を調節します。横にその長さのオブジェクトを置いておくとわかりやすいかもしれません。
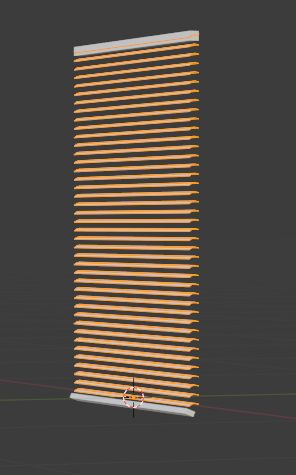
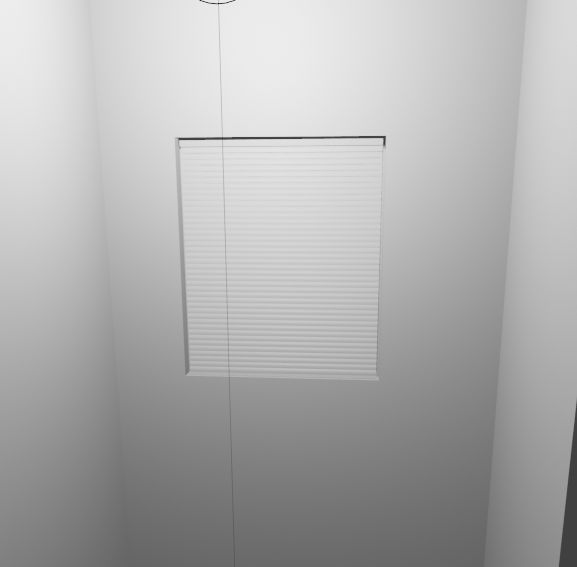
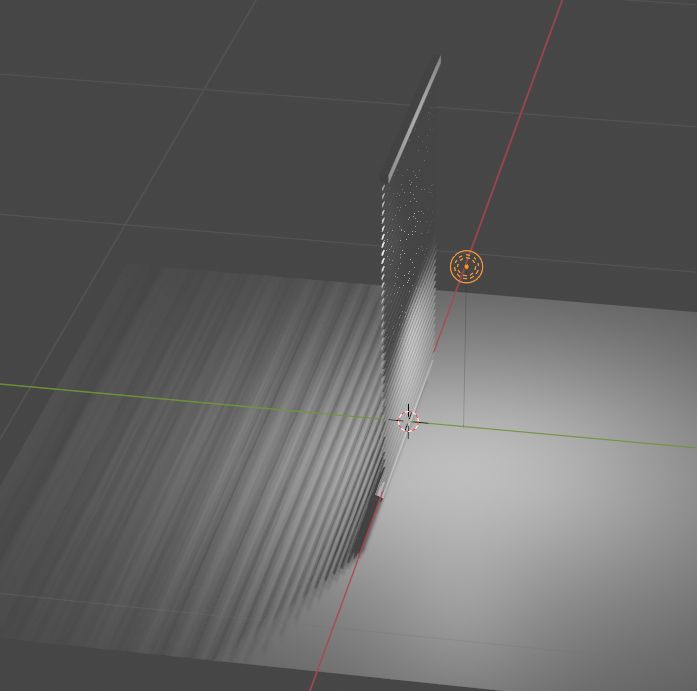
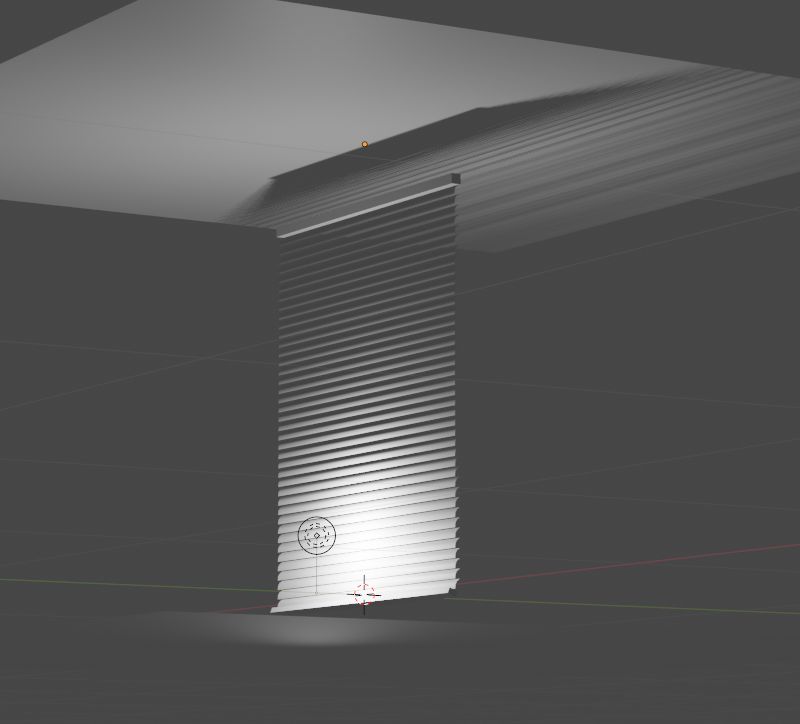
これで簡単にブラインドが作れました。ライトを当てると隙間から光が漏れます。
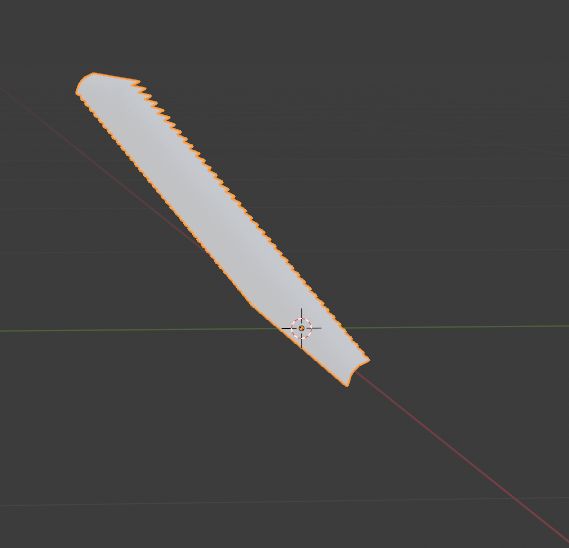
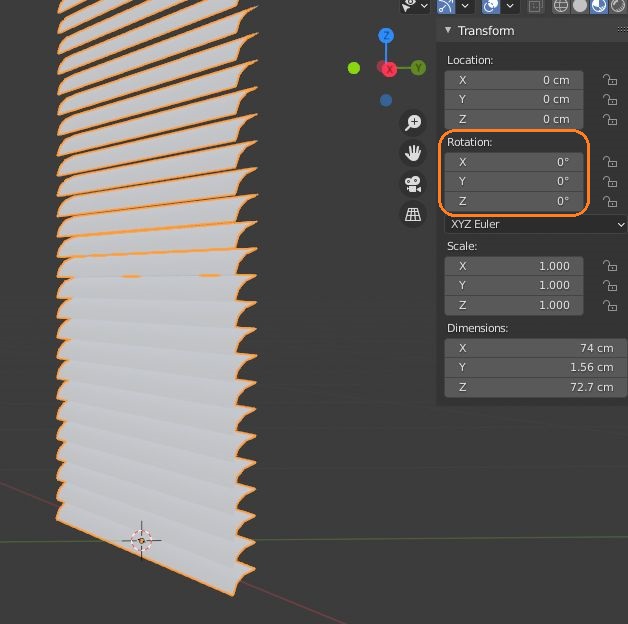
オブジェクトモードで羽根を傾けると、Arrayモディファイアを追加したときに、羽根が斜めに並ぶかもしれません。
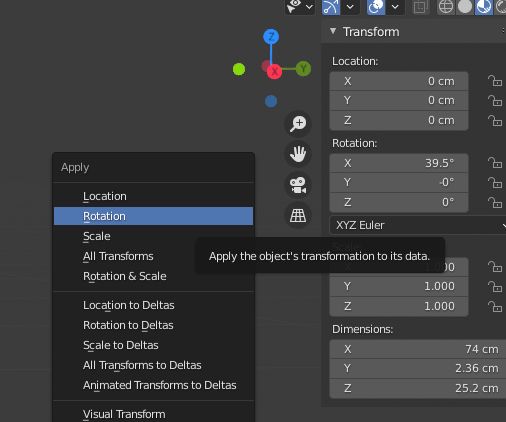
Ctrl + Aから回転を適用すると真上に並びます。
また、ArrayモディファイアでRelative Offsetを使うと、羽根の向きを変えた時に、羽根と羽根の間の長さが変わってしまいます。
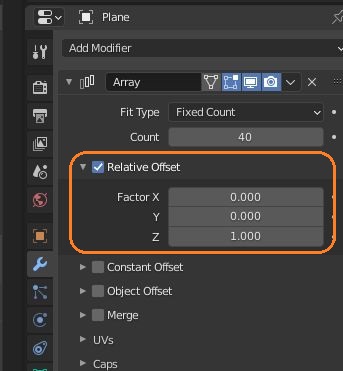
Relative Offsetの値は、羽根のそれぞれの方向のサイズに掛け合わされて、羽根の間の長さとして使われます。羽根の角度を小さくすると羽根の高さは小さくなって距離は近づきます。
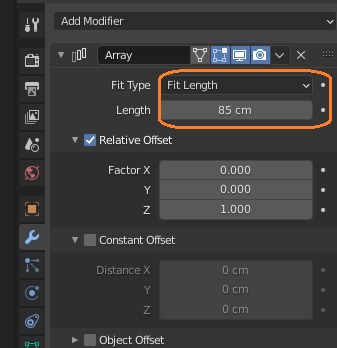
Fit TypeをFit Lengthにすると、全体のサイズは変わりませんが、そのサイズに収まるように羽根が増えます。
Relative Offsetを使わずに、Constant Offsetで羽根と羽根の間の長さを指定しておけば、問題なく羽根を回転させられます。
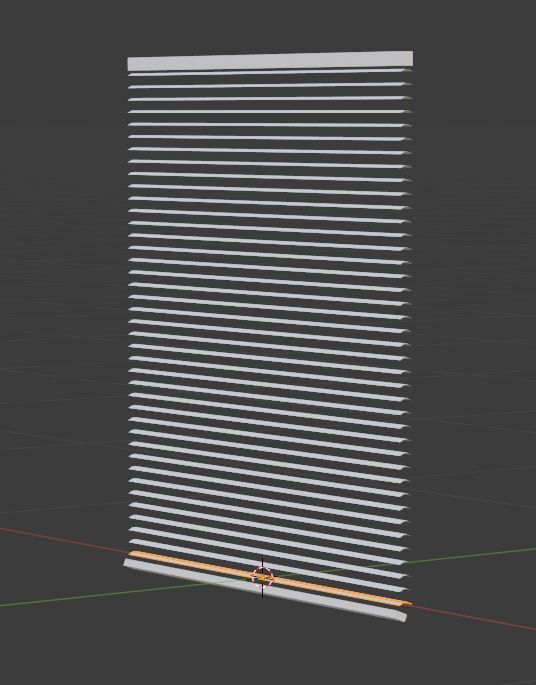
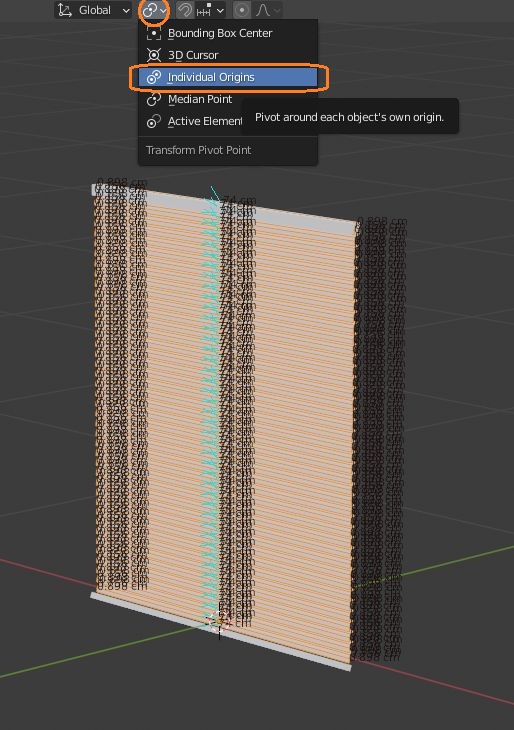
Arrayモディファイアを適用した後なら、編集モードですべての羽根を選択して、ピボットポイントをIndividual Originsにして回転させます。