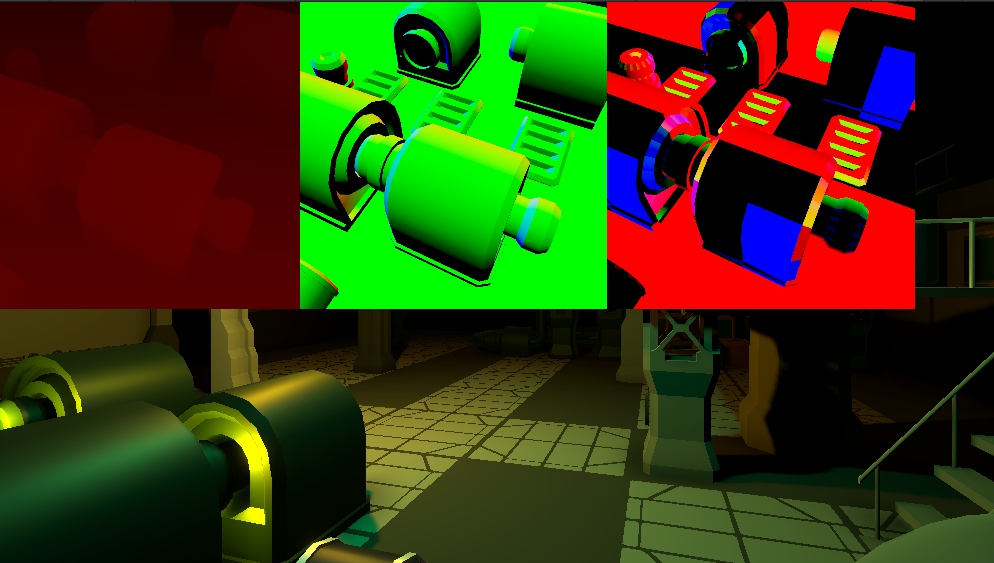
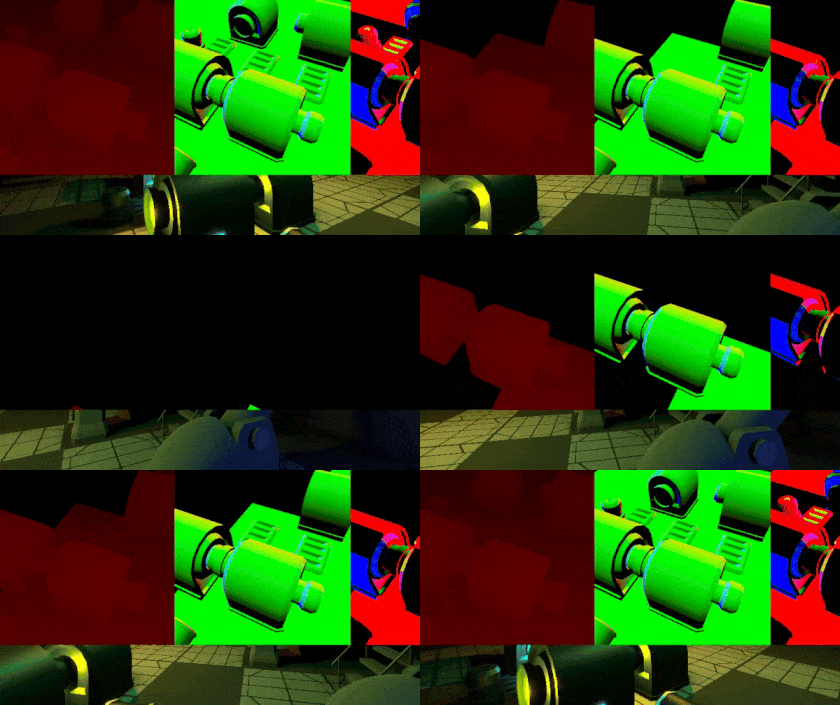
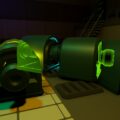
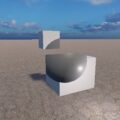
カスタムパスで、メインカメラとは別のカメラからの深度と法線、接線ベクトルをレンダリングするサンプルシーンを詳しく見てみました。
参考:https://github.com/alelievr/HDRP-Custom-Passes?tab=readme-ov-file#depth-capture
カメラ
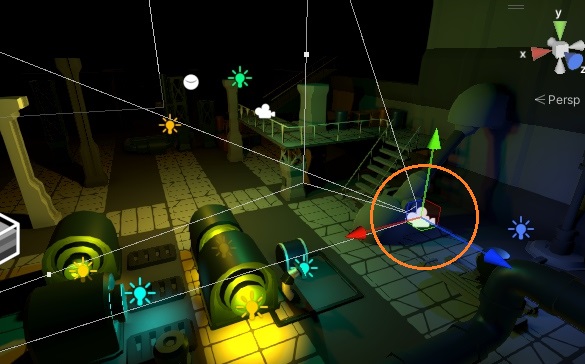
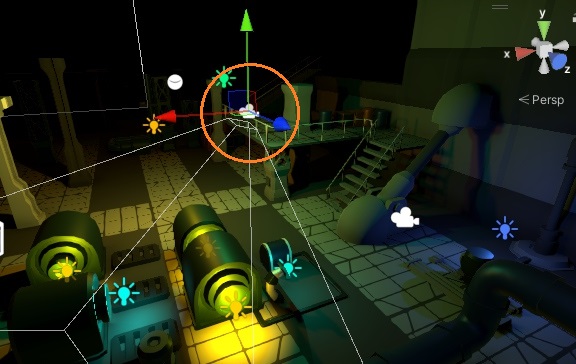
シーンには2つのカメラがあります。
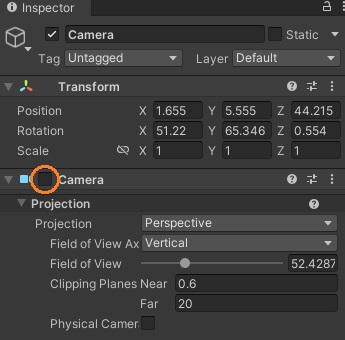
片方のカメラでは、Cameraコンポーネントが無効になっています。
UI
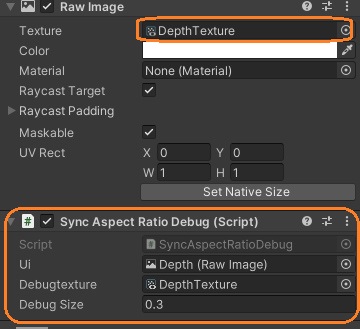
Canvasに3つのRaw Imageゲームオブジェクトがあります。Raw Imageコンポーネントにはレンダーテクスチャがアタッチされています。
スクリプトも追加されています。スクリプトでは、RectTransformのサイズをレンダーテクスチャに合わせています。
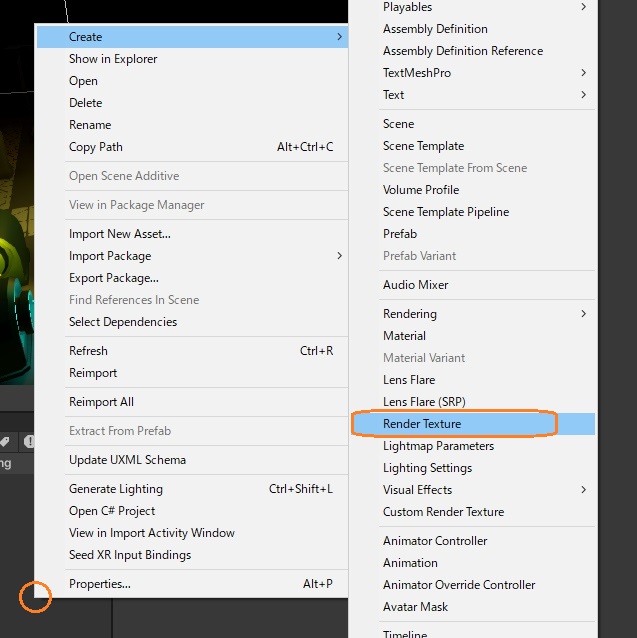
rt.sizeDelta = new Vector2(debugtexture.width, debugtexture.height) * debugSize;レンダーテクスチャはProjectウィンドウで右クリックから作成できます。
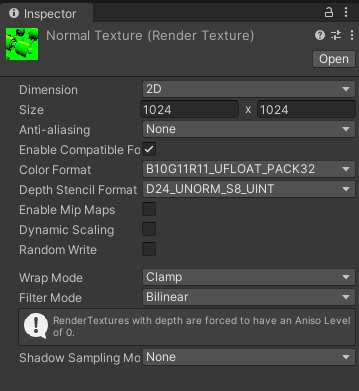
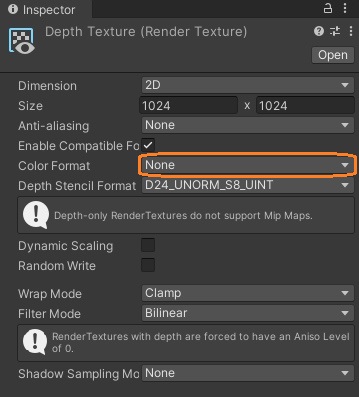
Nomal・TangentとDepthでは、レンダーテクスチャの設定が違います。
Custom Pass Volume
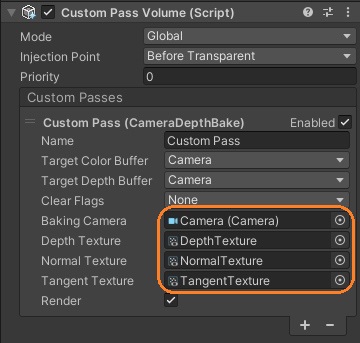
Custom Pass Volumeコンポーネントでは、独自のカスタムパスが追加されています。カスタムパスには、無効なカメラやレンダーテクスチャがアタッチされています。
カスタムパス
カスタムパスのスクリプトにはExecuteメソッドだけがあります。まず2つ目のカメラのアスペクト比を設定します。レンダーテクスチャのアスペクト比の方が大きいときはそれを使います。
        if (depthTexture != null)
            bakingCamera.aspect = Mathf.Max(bakingCamera.aspect, depthTexture.width / (float)depthTexture.height);
        if (normalTexture != null)
            bakingCamera.aspect = Mathf.Max(bakingCamera.aspect, normalTexture.width / (float)normalTexture.height);
        if (tangentTexture != null)
            bakingCamera.aspect = Mathf.Max(bakingCamera.aspect, tangentTexture.width / (float)tangentTexture.height);
CustomPassContextインスタンスのcullingResultsにカリング結果を表す構造体を入れます。CullingResults構造体には、可視オブジェクトやライトなどの情報が含まれます。
        bakingCamera.TryGetCullingParameters(out var cullingParams);
        cullingParams.cullingOptions = CullingOptions.None;

        // Assign the custom culling result to the context
        // so it'll be used for the following operations
        ctx.cullingResults = ctx.renderContext.Cull(ref cullingParams);
CullingResults構造体を取得するには、ScriptableRenderContext.Cullメソッドを呼びます。引数にカメラから取得したScriptableCullingParametersを渡します。Camera.TryGetCullingParametersメソッドでScriptableCullingParametersを取得できます。
この部分をコメントアウトすると、一部のオブジェクトがレンダーテクスチャに描画されなくなります。
RenderStateBlockをインスタンス化して、デプスステートをオーバーライドします。引数にマスクを渡しています。
var overrideDepthTest = new RenderStateBlock(RenderStateMask.Depth) { depthState = new DepthState(true, CompareFunction.LessEqual) };最後に各レンダーテクスチャに深度と法線、接線をレンダリングします。クリアフラッグやカメラのカリングマスク、RenderStateBlockインスタンスを渡しています。
        // Depth
        if (depthTexture != null)
            CustomPassUtils.RenderDepthFromCamera(ctx, bakingCamera, depthTexture, ClearFlag.Depth, bakingCamera.cullingMask, overrideRenderState: overrideDepthTest);

        // Normal
        if (normalTexture != null)
            CustomPassUtils.RenderNormalFromCamera(ctx, bakingCamera, normalTexture, ClearFlag.All, bakingCamera.cullingMask, overrideRenderState: overrideDepthTest);

        // Tangent
        if (tangentTexture != null)
            CustomPassUtils.RenderTangentFromCamera(ctx, bakingCamera, tangentTexture, ClearFlag.All, bakingCamera.cullingMask, overrideRenderState: overrideDepthTest);
これで別のカメラからレンダーテクスチャに描画できます。
参考:https://github.com/alelievr/HDRP-Custom-Passes?tab=readme-ov-file#depth-capture
https://docs.unity3d.com/ja/2019.4/ScriptReference/Camera.TryGetCullingParameters.html
https://docs.unity3d.com/ja/2019.4/ScriptReference/Rendering.ScriptableCullingParameters.html
https://docs.unity3d.com/ja/2019.4/ScriptReference/Rendering.CullingResults.html
https://docs.unity3d.com/ScriptReference/Rendering.ScriptableRenderContext.Cull.html
https://docs.unity3d.com/ja/2019.4/ScriptReference/Rendering.CullingOptions.html
https://docs.unity3d.com/Packages/com.unity.render-pipelines.high-definition@9.0/api/UnityEngine.Rendering.HighDefinition.CustomPassContext.html
