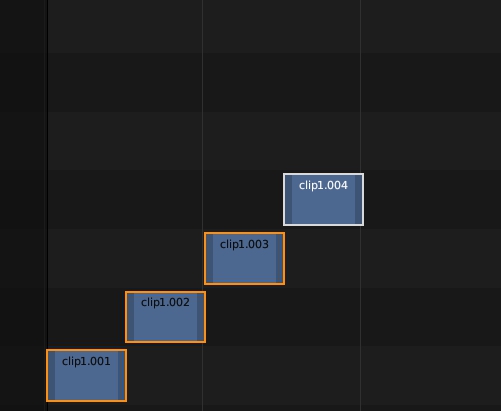
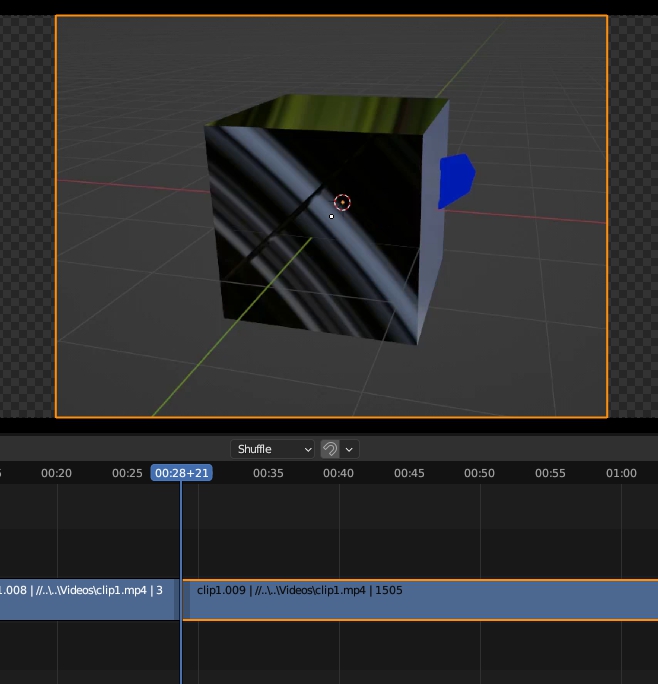
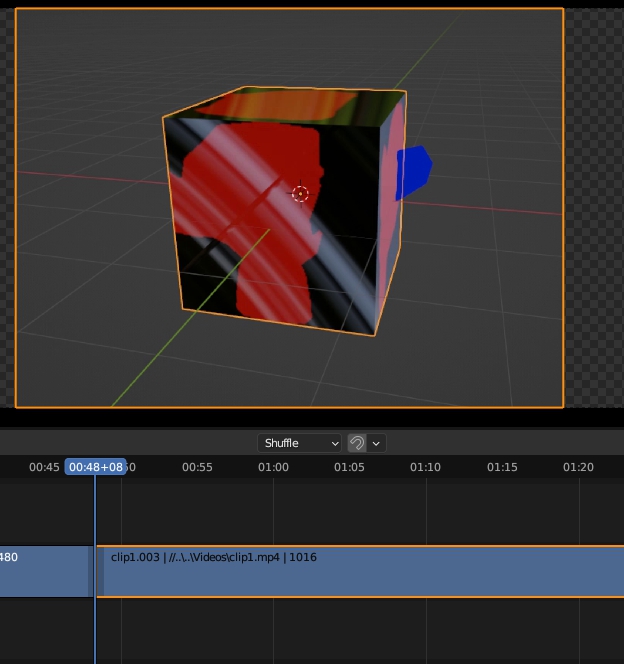
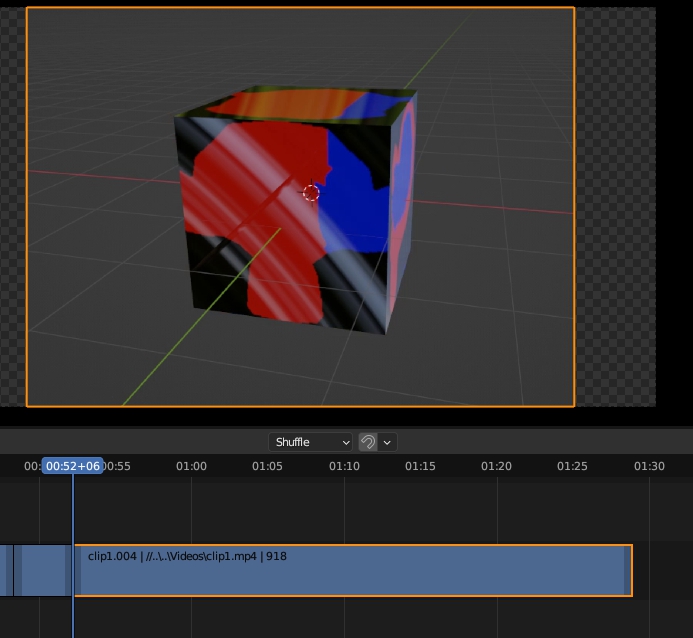
Blenderの動画編集で動画ストリップの長さを揃えて整列するアドオンを作りました。
スクリプト
import bpy
from bpy.props import IntProperty

class VideoEditingPanel(bpy.types.Panel):
    bl_label = "Video Editing Tools"
    bl_idname = "VIDEO_PT_editing"
    bl_space_type = 'SEQUENCE_EDITOR'
    bl_region_type = 'UI'
    bl_category = 'Strip'

    def draw(self, context):
        layout = self.layout
        layout.prop(context.scene, 'duration')
        layout.operator('video.arrange_clips')

class ArrangeClipsOperator(bpy.types.Operator):
    bl_idname = 'video.arrange_clips'
    bl_label = "Arrange Clips"

    @classmethod
    def poll(cls, context):
        return context.selected_sequences

    def execute(self, context):
        sequences = sorted(context.selected_sequences, key=lambda s: s.frame_final_start)
        if not sequences:
            self.report({'ERROR'}, 'No video clip selected')
            return {'CANCELLED'}

        range_start = 1
        start_frame = 1

        for s in sequences:
            if s.type != 'MOVIE':
                continue

            s.frame_start = start_frame - s.frame_offset_start

            s.frame_final_duration = context.scene.duration
            start_frame += context.scene.duration

            for channel in range(range_start, 33):
                overlap = False
                for sequence in context.sequences:
                    if (sequence != s and sequence.channel == channel and sequence.frame_final_start < s.frame_final_end and sequence.frame_final_end > s.frame_final_start):
                        overlap = True
                        break
                if not overlap:
                    s.channel = channel
                    range_start = channel + 1
                    break
        return {'FINISHED'}

def register():
    bpy.types.Scene.duration = IntProperty(name="Duration", default=0)
    bpy.utils.register_class(VideoEditingPanel)
    bpy.utils.register_class(ArrangeClipsOperator)

def unregister():
    bpy.utils.unregister_class(VideoEditingPanel)
    bpy.utils.unregister_class(ArrangeClipsOperator)
    del bpy.types.Scene.duration

if __name__ == "__main__":
    register()
まず必要なモジュールをインポートします。
import bpy
from bpy.props import IntProperty
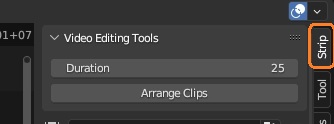
Video SequencerエディタのサイドバーのStripタブに表示するパネルを定義します。
class VideoEditingPanel(bpy.types.Panel):
    bl_label = "Video Editing Tools"
    bl_idname = "VIDEO_PT_editing"
    bl_space_type = 'SEQUENCE_EDITOR'
    bl_region_type = 'UI'
    bl_category = 'Strip'
パネルには整数プロパティとボタンを表示します。
    def draw(self, context):
        layout = self.layout
        layout.prop(context.scene, 'duration')
        layout.operator('video.arrange_clips')
ボタンを押したときの処理を実装するオペレータークラスを定義します。video.arrange_clipsという一意の名前を持っていてボタンを表示するときに使われています。ボタン上に「Arrange Clips」と表示されます。
class ArrangeClipsOperator(bpy.types.Operator):
    bl_idname = 'video.arrange_clips'
    bl_label = "Arrange Clips"
クリップが選択されているかを調べるクラスメソッドを定義します。これはなくても動作しますが、ChatGPTが加えたものです。
    @classmethod
    def poll(cls, context):
        return context.selected_sequences
ボタンを押したときの処理はexecuteメソッドに実装します。まず選択されたクリップを開始フレームでソートし、クリップ選択されていなければエラーを出力します。
    def execute(self, context):
        sequences = sorted(context.selected_sequences, key=lambda s: s.frame_final_start)
        if not sequences:
            self.report({'ERROR'}, 'No video clip selected')
            return {'CANCELLED'}
その後、ストリップを一つずつみていって、動画タイプの場合は、開始フレームと長さを変更します。
        range_start = 1
        start_frame = 1

        for s in sequences:
            if s.type != 'MOVIE':
                continue

            s.frame_start = start_frame - s.frame_offset_start

            s.frame_final_duration = context.scene.duration
            start_frame += context.scene.duration
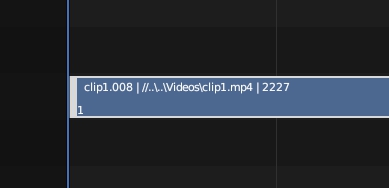
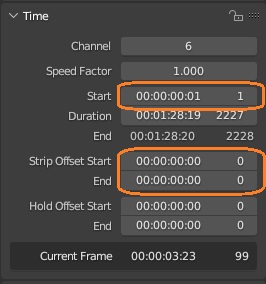
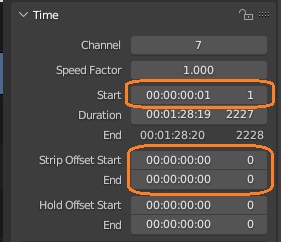
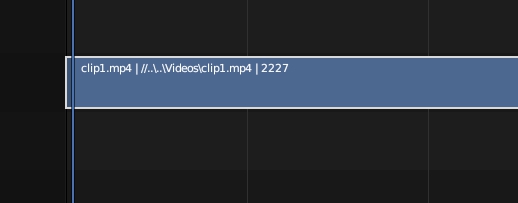
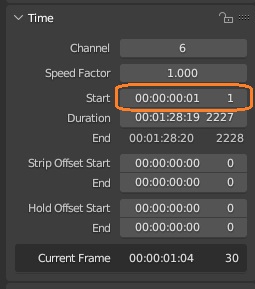
端の位置を変更していない動画ストリップを1フレームから始まるように配置します。
このとき、frame_startは 1 で、frame_offset_startは 0 です。
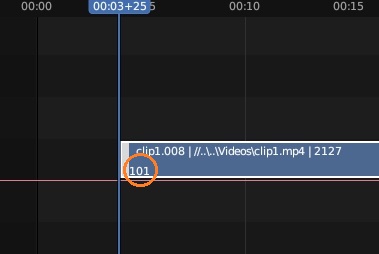
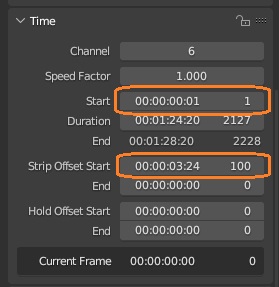
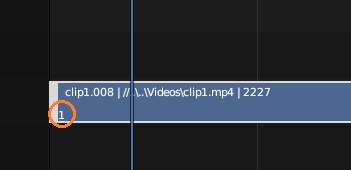
このストリップの全体の位置は動かさずに、左端のハンドルを100フレーム右に移動してみます。ハンドルは101フレームに置かれます。
こうすると、frame_startは 1 のままですが、frame_offset_startが 100 に変わりました。
動画は途中から再生されます。左ハンドルが実際に置かれているフレームは「frame_final_start」ですが、frame_final_startを変更すると左ハンドルだけが動くので、動画の再生される部分とオフセットが変わってしまいます。
import bpy

s = bpy.context.selected_sequences[0]

s.frame_final_start = 1
この場合、動画ははじめから再生されます。オフセットを考慮してframe_startを変更すると、動画の再生される部分を変えずにストリップの開始フレームを変更できました。
s.frame_start = start_frame - s.frame_offset_startその後、ストリップの長さを変えて、次のストリップの再生位置を設定しています。
s.frame_final_duration = context.scene.duration
start_frame += context.scene.duration
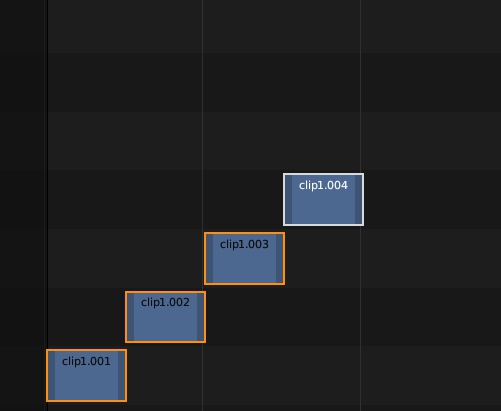
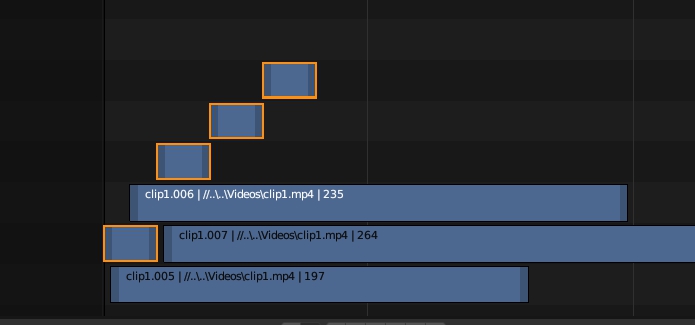
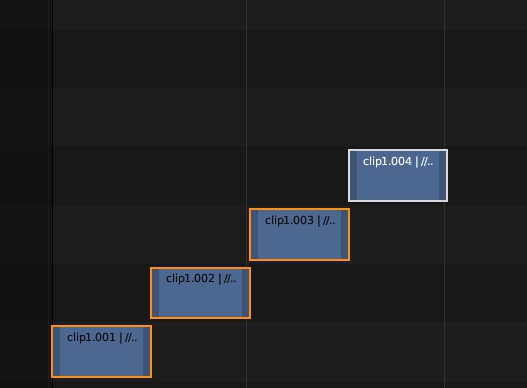
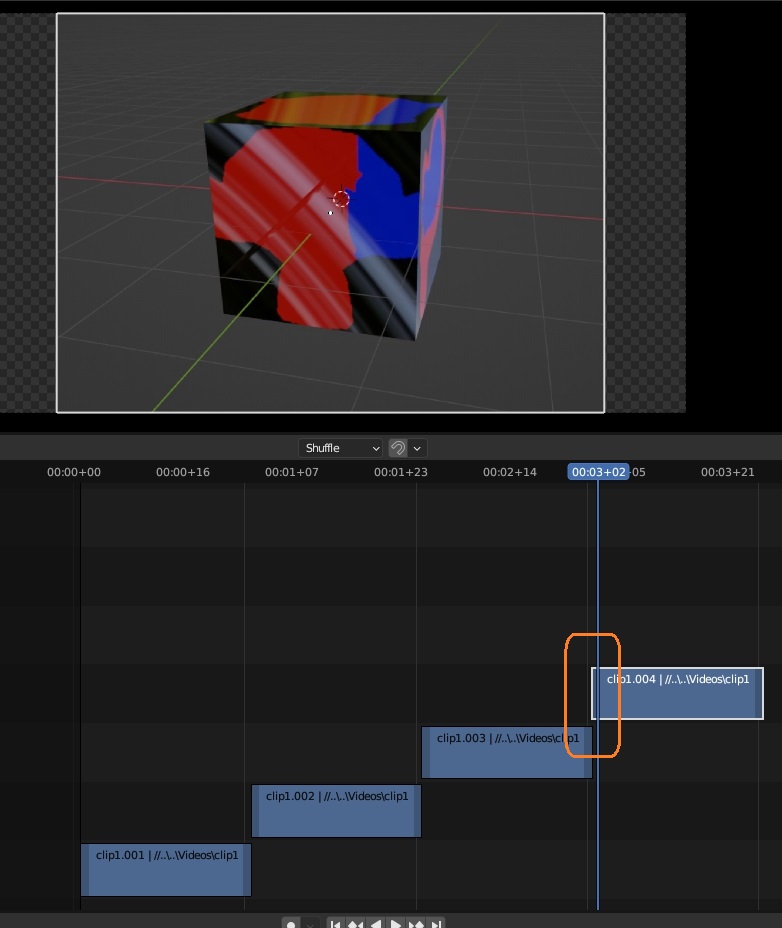
フレームを配置するチャンネルを決めます。今回はストリップの長さを編集しやすいように、次のストリップが一つ上のチャンネルに表示されるようにしました。
            for channel in range(range_start, 33):
                overlap = False
                for sequence in context.sequences:
                    if (sequence != s and sequence.channel == channel and sequence.frame_final_start < s.frame_final_end and sequence.frame_final_end > s.frame_final_start):
                        overlap = True
                        break
                if not overlap:
                    s.channel = channel
                    range_start = channel + 1
                    break
        return {'FINISHED'}
すべてのストリップを見ていって、他のストリップと重なる場合はそのチャンネルをスルーします。
コードを少し変えると、同じチャンネルに配置できるようにしたり、互い違いに配置したりできます。
        prev_ch = 0
        start_frame = 1

        for s in sequences:
            # ...

            for channel in range(1, 33):
                overlap = False
                for sequence in context.sequences:
                    if(prev_ch == channel):
                        overlap = True
                        break
                    if (sequence != s and sequence.channel == channel and sequence.frame_final_start < s.frame_final_end and sequence.frame_final_end > s.frame_final_start):
                        overlap = True
                        break
                if not overlap:
                    s.channel = channel
                    prev_ch = channel
                    break
最後に、プロパティやパネル、オペレーターの登録・解除ができるようにします。
def register():
    bpy.types.Scene.duration = IntProperty(name="Duration", default=0)
    bpy.utils.register_class(VideoEditingPanel)
    bpy.utils.register_class(ArrangeClipsOperator)

def unregister():
    bpy.utils.unregister_class(VideoEditingPanel)
    bpy.utils.unregister_class(ArrangeClipsOperator)
    del bpy.types.Scene.duration

if __name__ == "__main__":
    register()
スクリプトを実行
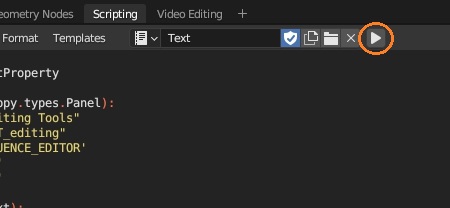
テキストエディタにスクリプトをコピペして、再生ボタンを押します。
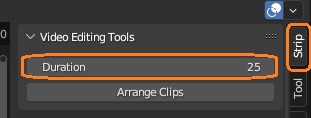
Video EditingワークスペースのVideo Sequencerエディタのサイドバーにパネルが表示されます。Durationにストリップの長さの値を入れます。
編集したい動画ファイルをエディタにドラッグアンドドロップします。frame_startを 1 にしました。
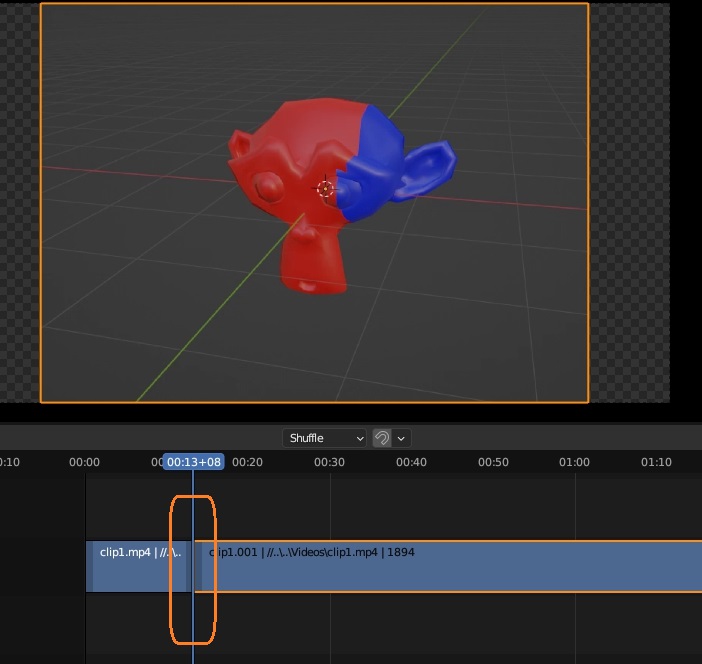
ストリップを分割します。シーケンサーの上のプレビューを見ながら、分割したいところにシークバーをおいて、ストリップを選択してKキーを押すと、その位置でストリップが2つにわかれます。
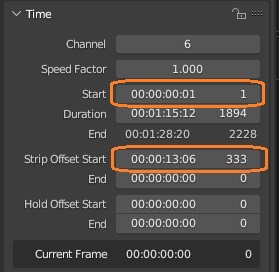
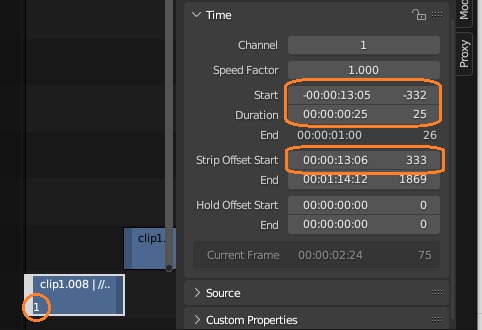
右側のストリップはframe_startが 1 で、オフセットは 333 です。
このストリップを選択してさらに分割していきます。
一番左のストリップを削除しました。ストリップを選択して X(または Delete)で削除できます。
残りのストリップを選択して、パネルの「Arrange Clips」ボタンをクリックします。
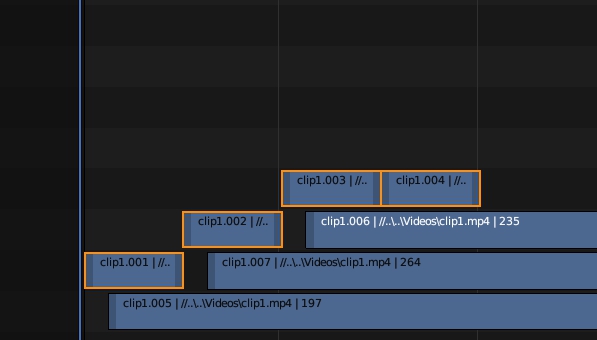
すると、ストリップの長さが揃って隙間なく整列されました。
先頭のストリップの左ハンドルは 1 にあり、オフセットは 333 と変化ありません。frame_startは、1 – 333 = -332 になっています。Durationは指定した 25 です。
なので、動画の再生する部分は変わりません。
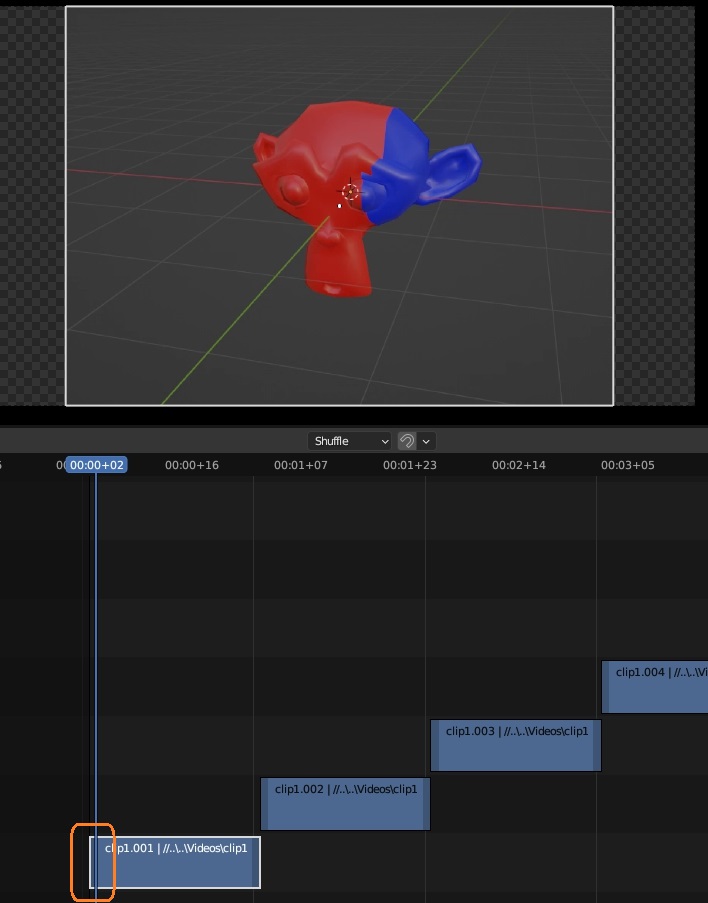
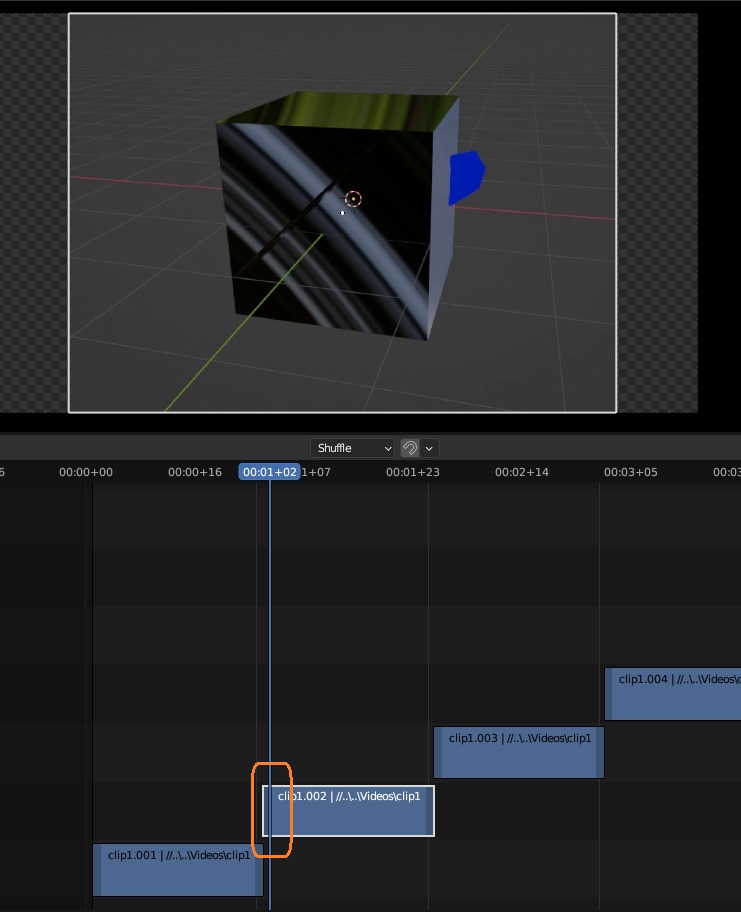
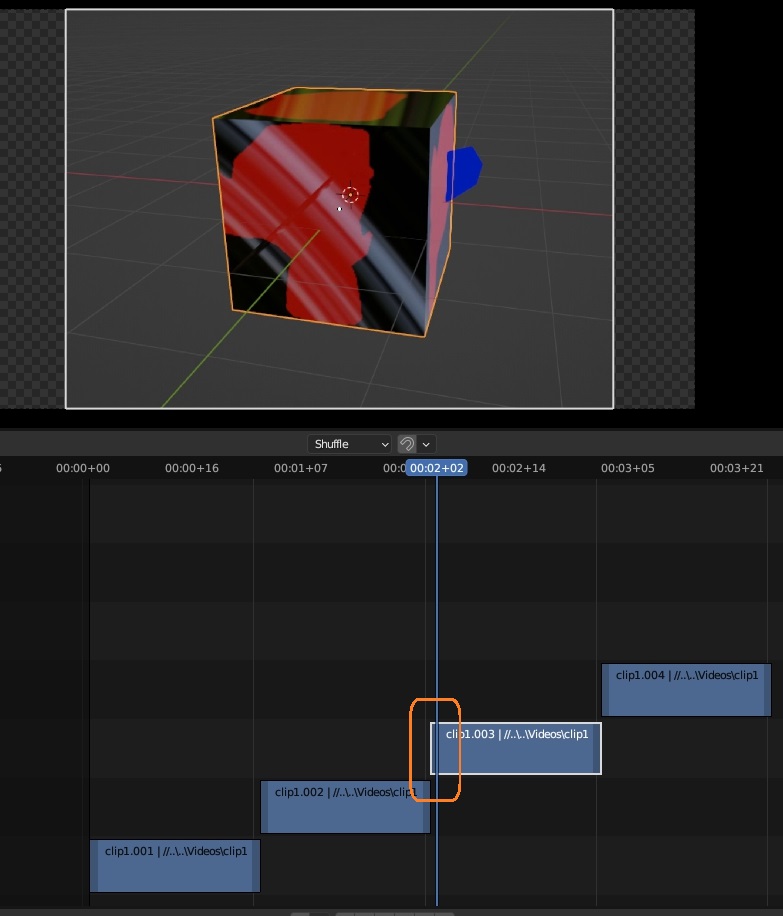
他のストリップも同様に、分割するときと同じ映像がプレビューに表示されます。
インストールして使う
Blenderにインストールして使うアドオンにすることもできます。スクリプトの冒頭に bl_info を付けます。
bl_info = {
    "name": "Arrange Clips",
    "author": "author",
    "version": (1, 0),
    "blender": (3, 5, 0),
    "location": "Sequence Editor > Sidebar > Strip",
    "description": "Arrange clips in Video Sequencer based on specified duration",
    "warning": "",
    "wiki_url": "",
    "category": "Sequencer",
}
文字コードをUTF-8にしてテキストエディタで保存し、拡張子をpyに変更します。
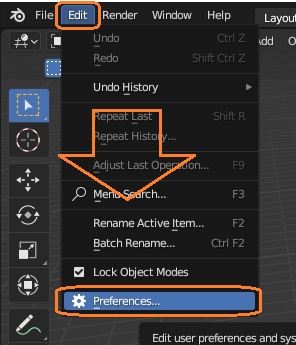
Blenderで、Edit > Preferences… を開きます。
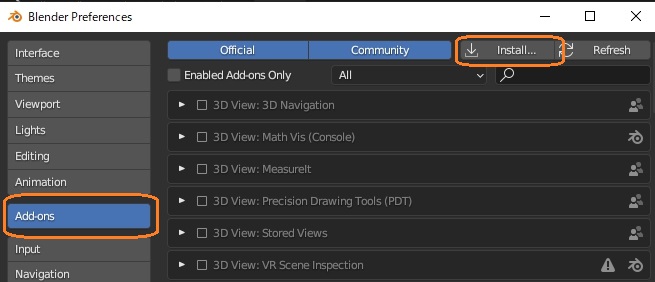
Add-onsの「Install…」ボタンを押します。
保存したPythonスクリプトを選択して「Install Add-on」をクリックします。
一覧にアドオンが表示されるので、名前の横のチェックボックスを入れて有効化します。
これで、Video SequencerエディタのサイドバーのStripタブにパネルが表示されます。
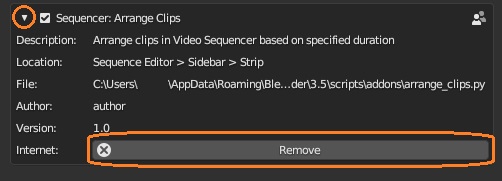
アドオンのチェックボックスの横の三角形を開くと、アドオンの情報が見れます。削除するときは「Remove」ボタンを押します。
