
シェーダーを使って頂点カラーを取得してみました。カスタムシェーダーを少し変更する方法と、シェーダーグラフを使う方法を試しました。
Blenderで頂点カラーをつけたCubeをUnityにもってきてシーン上に配置しています。
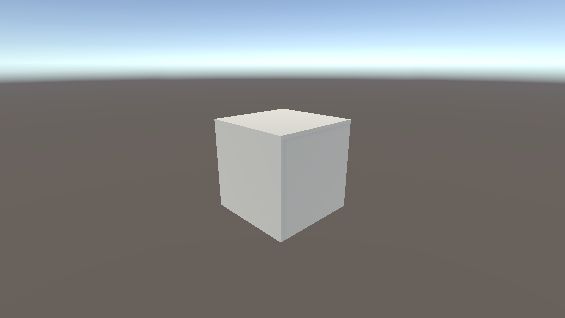
このままでは頂点カラーが表示されないので、頂点カラーを取得するためのシェーダーを作ります。
カスタムシェーダーを作る
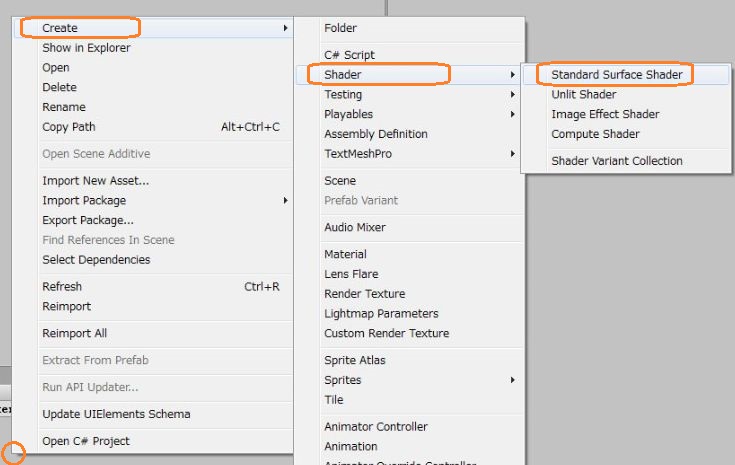
Projectの何もないところで右クリックして、Standard Surface Shaderを作成します。
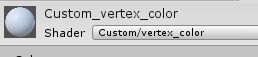
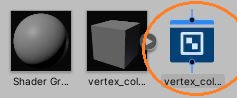
適当に名前をつけました。
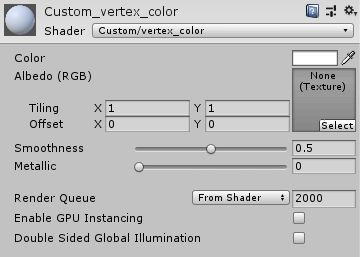
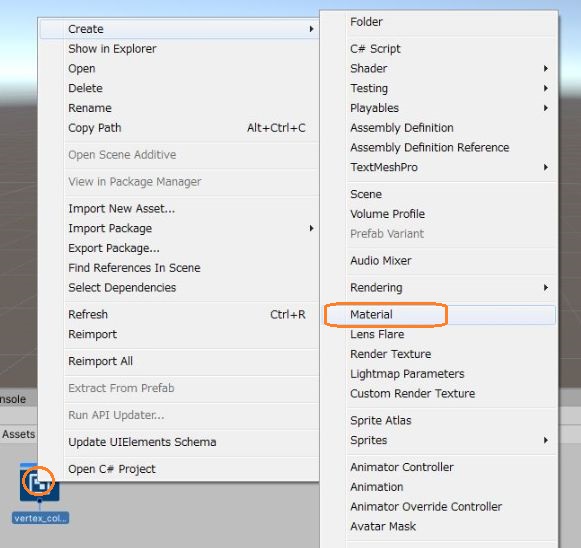
このシェーダーを右クリックしてMaterialを作ると、このシェーダーがついたマテリアルが作成されます。

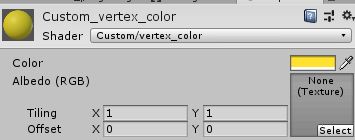
今作ったシェーダーの名前がついています。
このマテリアルをシーン上のCubeにドラッグアンドドロップしておきます。
シェーダーをダブルクリックして、Visual Studioで少し修正します。
Shader "Custom/vertex_color"
{
    Properties
    {
        _Color ("Color", Color) = (1,1,1,1)
        _MainTex ("Albedo (RGB)", 2D) = "white" {}
        _Glossiness ("Smoothness", Range(0,1)) = 0.5
        _Metallic ("Metallic", Range(0,1)) = 0.0
    }
    SubShader
    {
        Tags { "RenderType"="Opaque" }
        LOD 200

        CGPROGRAM
        // Physically based Standard lighting model, and enable shadows on all light types
        #pragma surface surf Standard vertex:vert // fullforwardshadows→vertex:vert

        // Use shader model 3.0 target, to get nicer looking lighting
        #pragma target 3.0

        sampler2D _MainTex;

        struct Input
        {
            float2 uv_MainTex;
	float4 vertColor; // 追加
        };

        void vert(inout appdata_full v, out Input o) {  // vert()を追加
            UNITY_INITIALIZE_OUTPUT(Input, o);
            o.vertColor = v.color;
        }

        half _Glossiness;
        half _Metallic;
        fixed4 _Color;

        // Add instancing support for this shader. You need to check 'Enable Instancing' on materials that use the shader.
        // See https://docs.unity3d.com/Manual/GPUInstancing.html for more information about instancing.
        // #pragma instancing_options assumeuniformscaling
        UNITY_INSTANCING_BUFFER_START(Props)
            // put more per-instance properties here
        UNITY_INSTANCING_BUFFER_END(Props)

        void surf (Input IN, inout SurfaceOutputStandard o)
        {
            // Albedo comes from a texture tinted by color
            fixed4 c = tex2D (_MainTex, IN.uv_MainTex) * _Color;
            o.Albedo = c.rgb * IN.vertColor.rgb; // 変更

	// Metallic and smoothness come from slider variables
            o.Metallic = _Metallic;
            o.Smoothness = _Glossiness;
            o.Alpha = c.a;
        }
        ENDCG
    }
    FallBack "Diffuse"
}
#pragma~ のfullforwardshadowsをvertex:vertに変えて、頂点シェーダーの関数vertを宣言しています。また、Input構造体の中にvertColorを追加し、さらにvert()も新しく作ってその中で頂点カラーを取得します。
そして、サーフェスシェーダーの中でアウトプットのAlbedoに頂点カラーを代入しています。
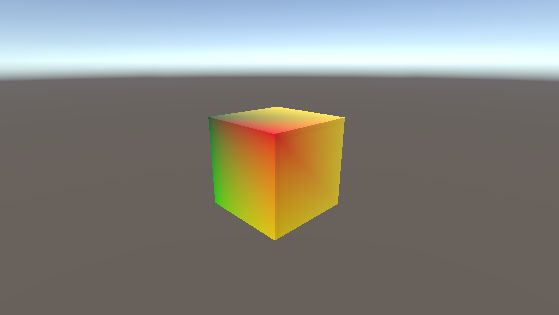
すると、頂点カラーが表示されるようになりました。
色は白でテクスチャも設定していませんが、Cubeに色が塗られています。
色を合成することもできました。
シェーダーグラフを作る
今度は、Unity 2019.3でシェーダーグラフを使って頂点カラーを取得してみました。
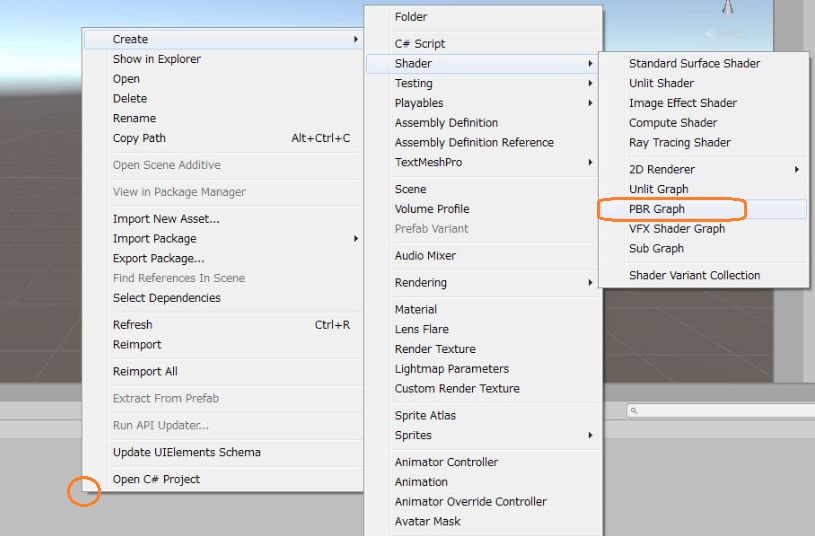
右クリックからPBR Graphを新規作成します。
このシェーダーグラフを右クリックしてマテリアルを作ります。
このマテリアルをシーン上のCubeにドラッグアンドドロップしておきます。

今作ったシェーダーグラフをダブルクリックして編集します。
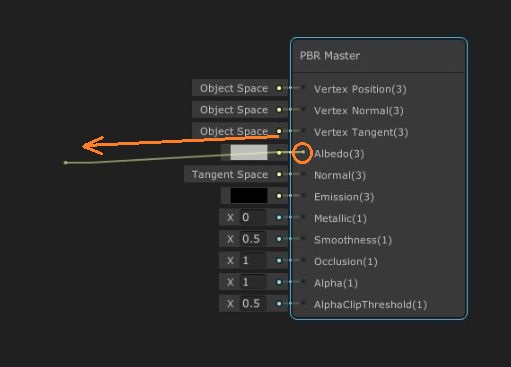
デフォルトで表示されている「PBR Master」の「Albedo」の横にある点から何もないところへドラッグアンドドロップします。
ウィンドウがでるので、Vertex Colorを検索して選択します。
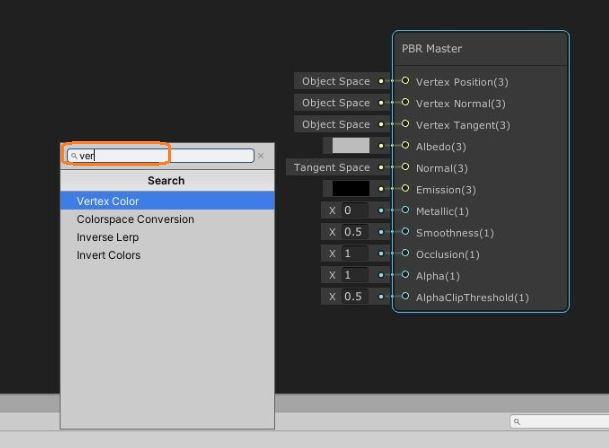
すると、Outと「Albedo」が接続された状態で「Vertex Color」のノードが追加されます。

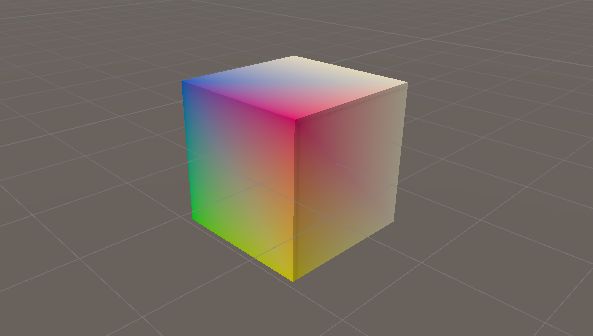
これで頂点カラーが取得できるので、Save Assetボタンをクリックして保存しシーンを見てみます。
ちゃんと頂点カラーが表示されました。
BlenderでCubeに頂点カラーを設定する
頂点カラーはBlenderで簡単につけられます。
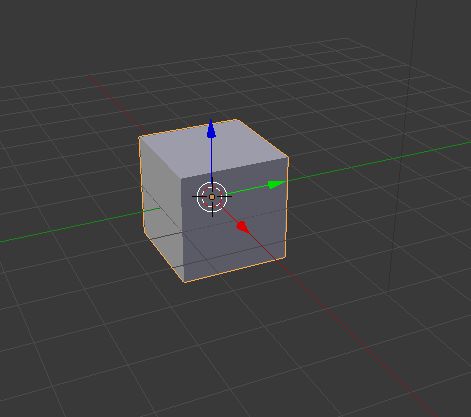
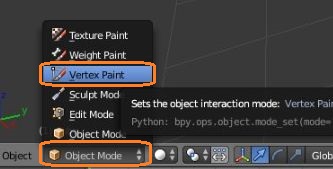
デフォルトのCubeをそのままにして、Vertex Paintモードに切り替えます。
Tキーでツールシェルフを出すと、ブラシや色を設定できます。
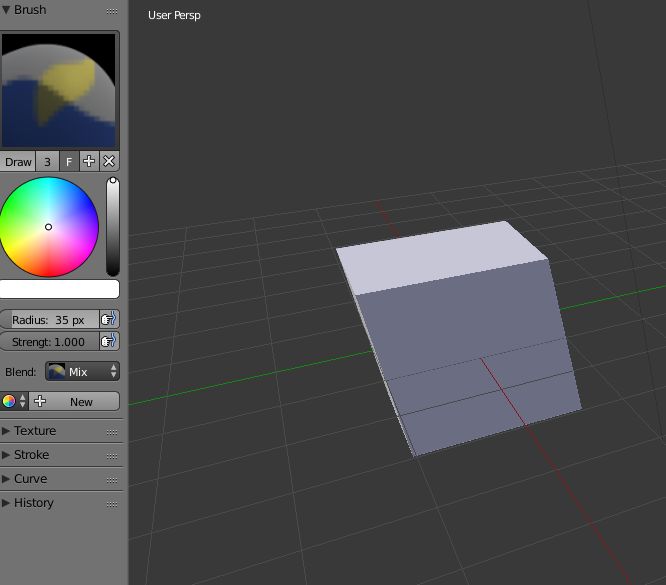
適当に色を選んで頂点をクリックすると頂点カラーがつきます。
頂点以外の部分をクリックしても色はつきません。